This is a sponsored conversation written by me on behalf of Cricut. The opinions and text are all mine.
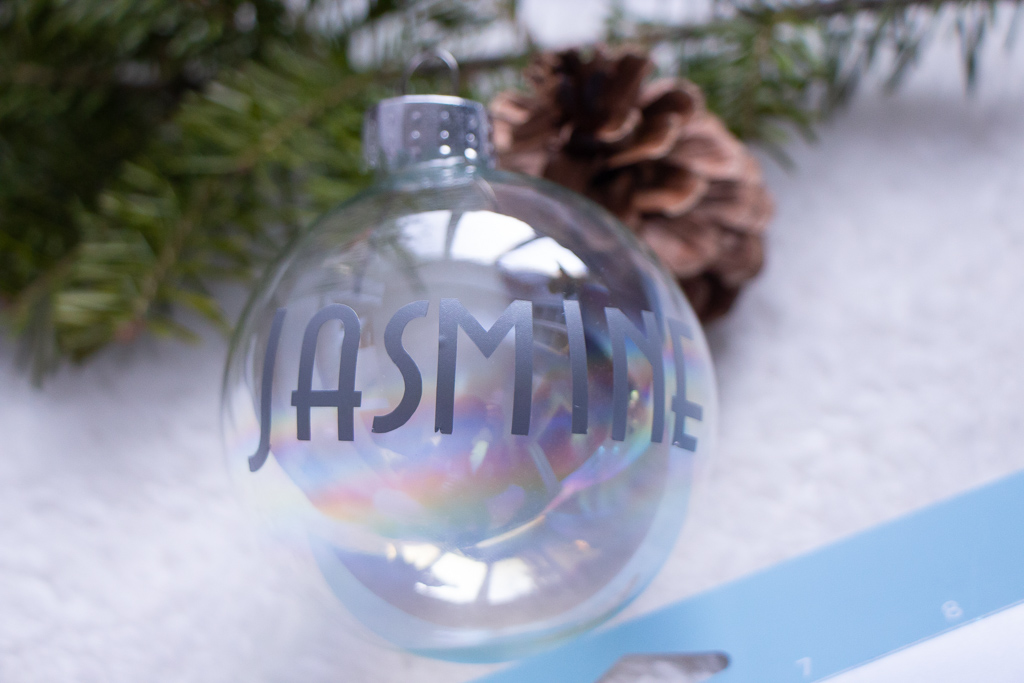
Decorating the Christmas tree is by far my favorite part of the holidays. This year we decided to revive our ancient tree (15 years old) and decorate it with the same ornaments we’ve had for years. It’s a mix of dollar store ornaments and some handmade ornaments that my son and I made over the years. There’s even the failed baby footprint ornament that I attempted to make when my daughter was a tiny baby. We decided to add a few more personalized Christmas ornaments that we made using the Cricut Explore Air 2. Keep reading for the easy steps.
Super Simple DIY Personalized Christmas Ornaments | Cricut Explore Air 2
 This is a sponsored conversation written by me on behalf of Cricut. The opinions and text are all mine.
I’ve always been super impressed when I would see Pinterest posts about DIY personalized Christmas ornaments using their Cricut machines. Never in my wildest dream would I have thought that I would have the skills needed to make some of my very own. But it turns out, creating fun DIYs with the Cricut Explore Air is easier than you can imagine. The possibilities are so endless, and it is so much fun!
What you will need
For this simple DIY personalized Christmas ornaments, you are going to need a couple of items only.
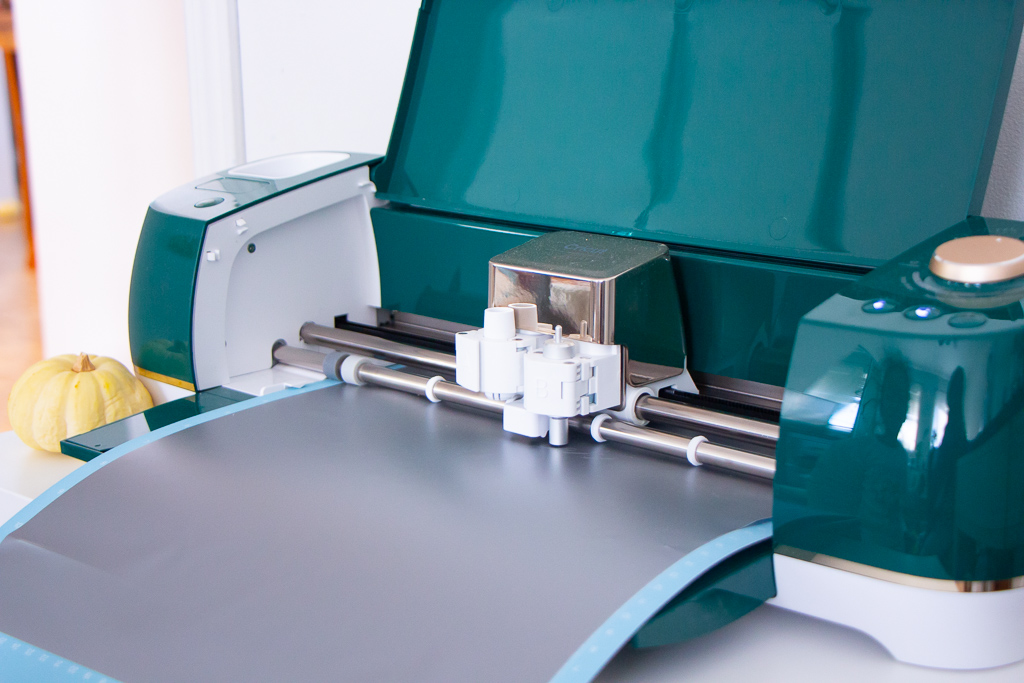
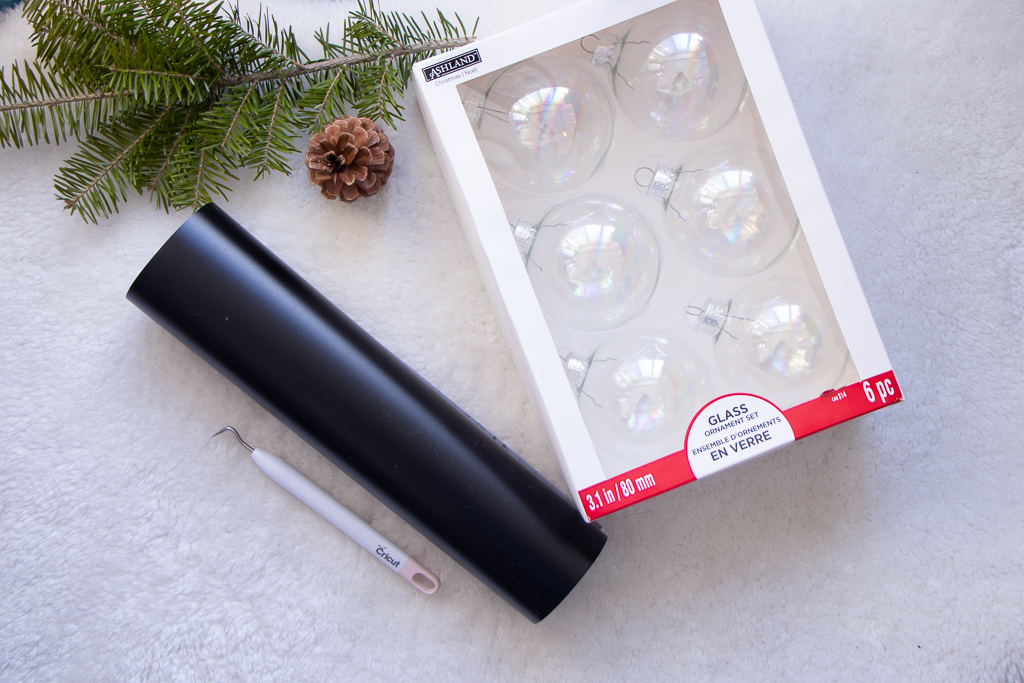
- Cricut Explore Air 2 (The Emerald Green can be purchased at Walmart exclusively)
- Access to Cricut Design Space (you can sign up for a membership here).
- A machine mat
- Cricut weeding tool (you should get the basic toolset for future projects).
- A permanent vinyl paper of your color choice (I did some silver ornaments as well as a white one).
- Clear ornaments (you can also go with white ornaments; just be sure it is a smooth finish).
- Tiny white pompoms (optional but give the ornaments a fun little look).
Steps
Open Cricut Design Space and search for holiday images. For the text, you can use any font you want. I decided to go with my children’s names for the personalized ornaments and added a couple of simple holiday images as well.

My clear ornaments were about 8omm, so I scaled the images to about 2 to 3 inches only. I kept the font size to the default 72pt.
Set up your Cricut Explore Air 2 and follow the prompts. Be sure to put your machine to “Vinyl” before you start.
Once all your images and words are printed are cut, use the weeding tool to peel them off the mat. I tried using my fingers at first, and that was a total fail, so use that tool!
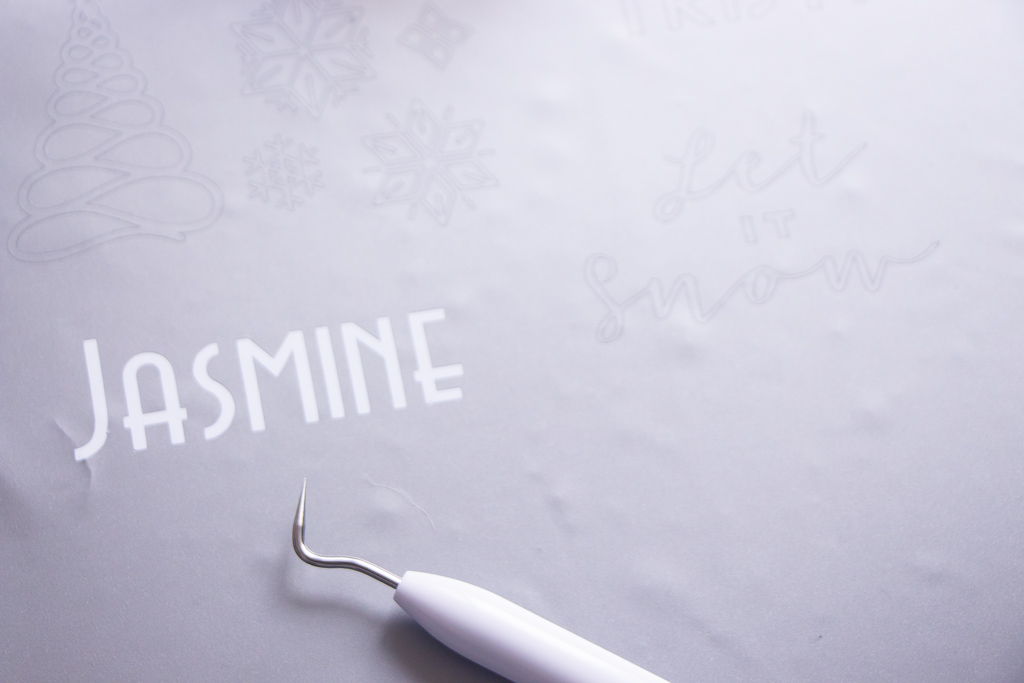

Stick your images and words onto your clear ornaments.
Enjoy your simple but amazing DIY!
You can also add some small items inside your ornaments. I added some tiny pompoms in mine.
That’s it! You are done! I told you it was going to be a simple DIY!
PIN IT!
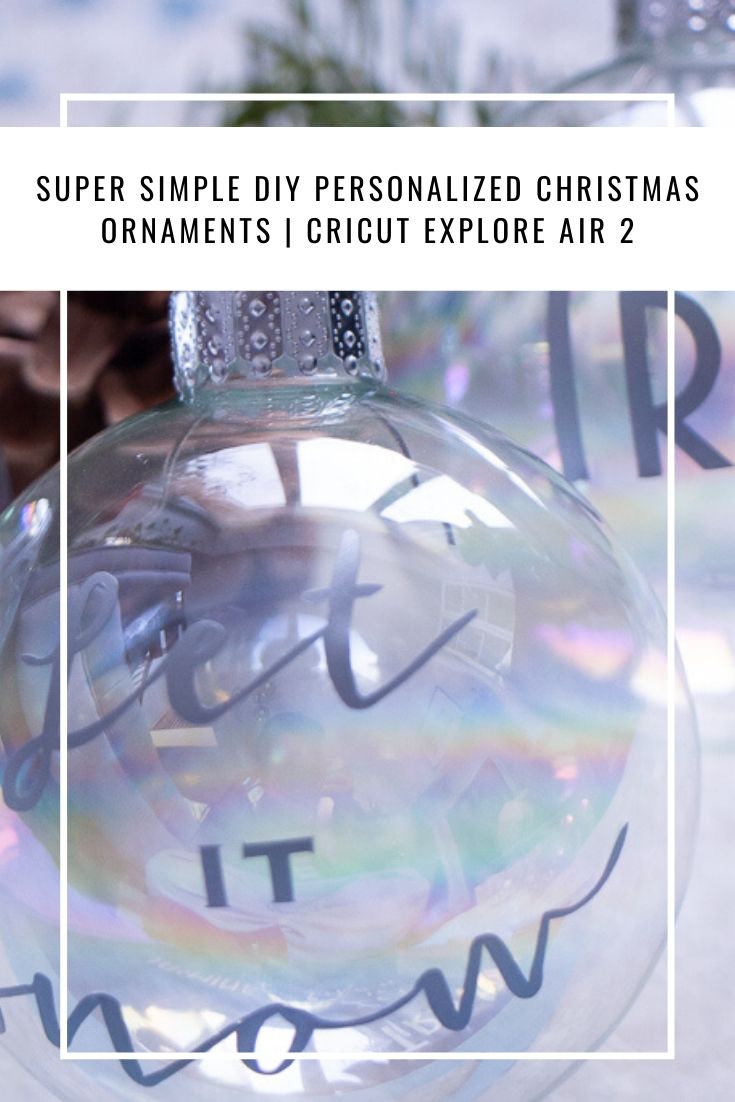
I had such a fun time making these personalized Christmas ornaments for our old tree. What other fun holiday-themed DIY would you like to make using the Cricut Explore Air 2?
Be sure to subscribe to my blog for an update when a new post is live!
Let’s connect!
