This is a sponsored conversation written by me on behalf of Cricut. The opinions and text are all mine.
For as long as I could remember, I’ve wanted a Cricut. I always told myself that I wasn’t “crafty” enough. That didn’t stop me from spending hours watching DIY projects featuring the machine. Imagine my excitement when I was giving the opportunity to work with the brand for the next few months to highlight the brand new Cricut Explore Air 2? For my first project, I’m making a super easy Halloween themed wall gallery for my toddler’s bedroom. Keep reading for the steps.
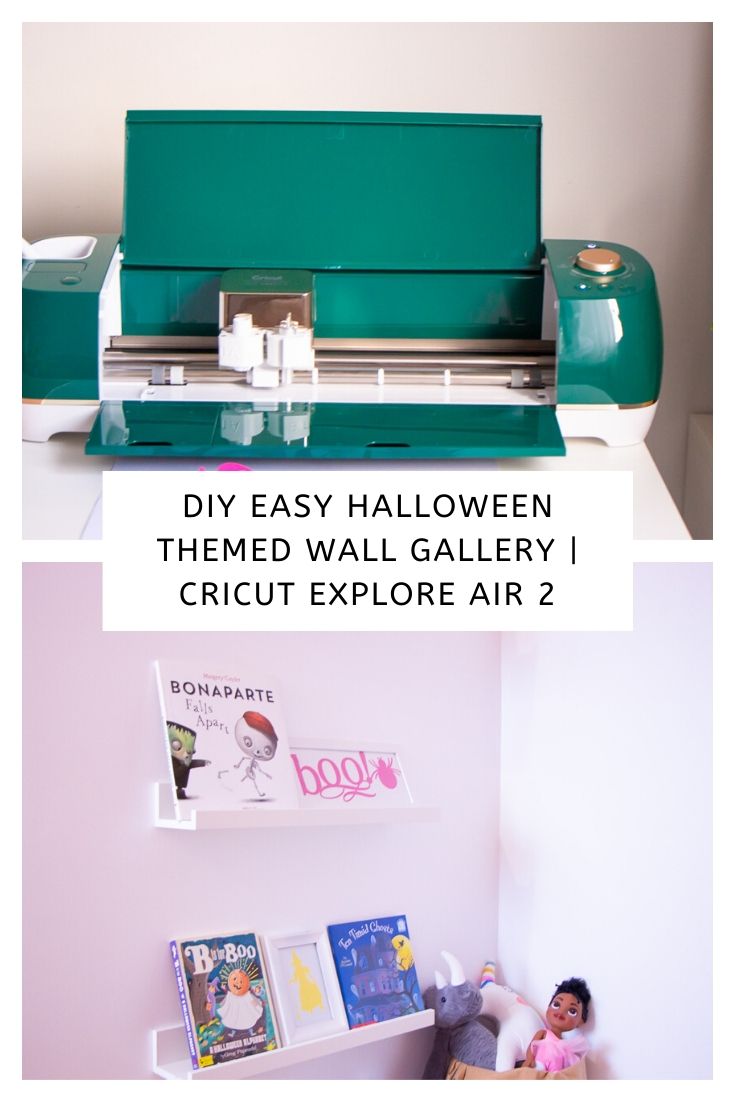
DIY Easy Halloween Themed Wall Gallery | Cricut Explore Air 2

About the Cricut Explore Air 2
Features:
- Cuts 100 materials such as vinyl, cardstock, iron-on, glitter paper, and leather!
- Compatible with the Deep-Point Blade, Bonded-Fabric Blade, and Fine-Point Blade
- Fast Mode for up to 2X faster cutting and writing.
- Double tool holder to keep blade and pen.
- Beautiful colorful machines
- You can create projects using your phone, computer, tablet thanks to the Bluetooth® wireless technology.
- It allows you to upload and use your own images.
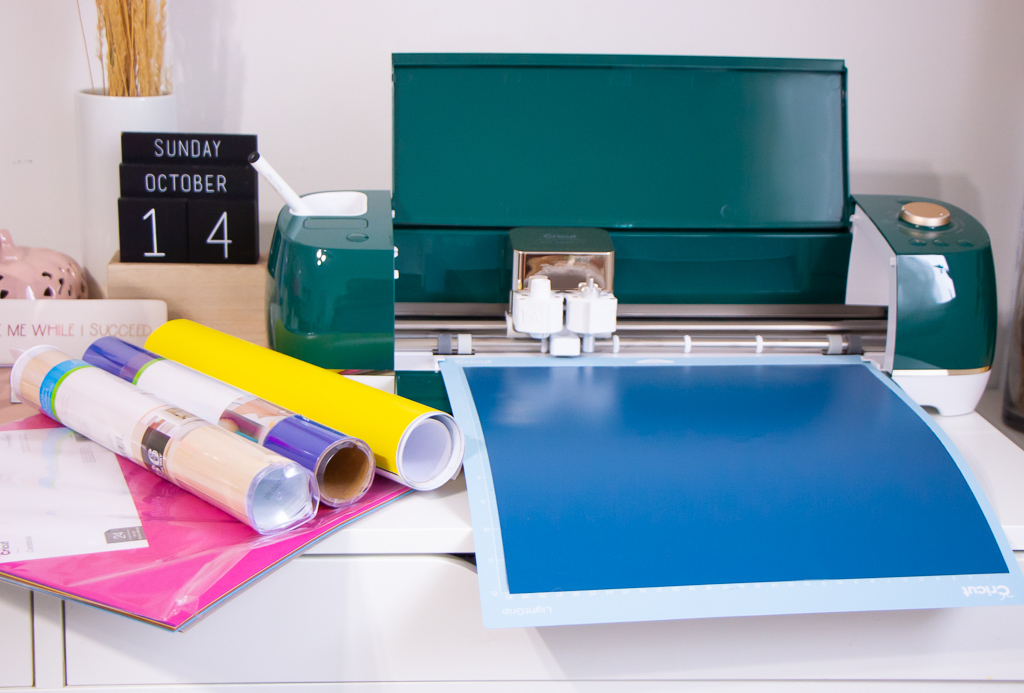
My beautiful Emerald Cricut Explore Air 2 machine can be found exclusively at Walmart and cost $227
What you will need
- A Cricut Explore Air 2
- Cricut Premium Vinyl in whichever color you want.
- Colorful cardstocks
- Frames + canvas
- Glue
This project was extremely easy once we figured out how to use our brand new Cricut Explore Air 2. So easy, in fact, my toddler was able to help. She was fascinated with the way the machine cut the papers into fun Halloween shapes.
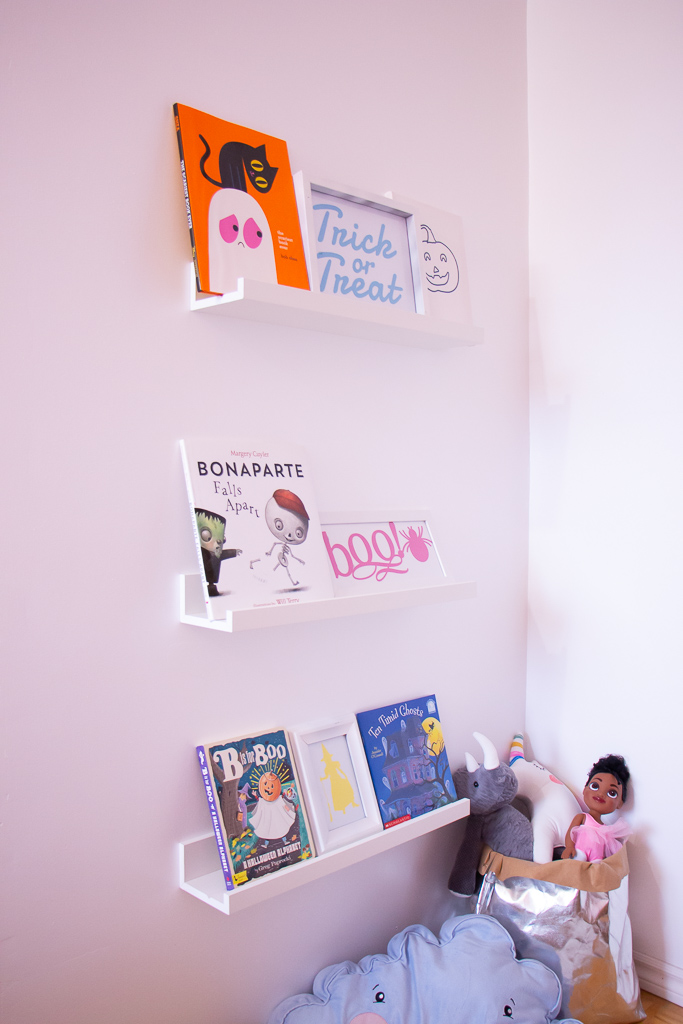
For our wall gallery, we decided to go with a colorful Halloween theme mainly because she’s not a big fan of spooky things but LOVES colors.
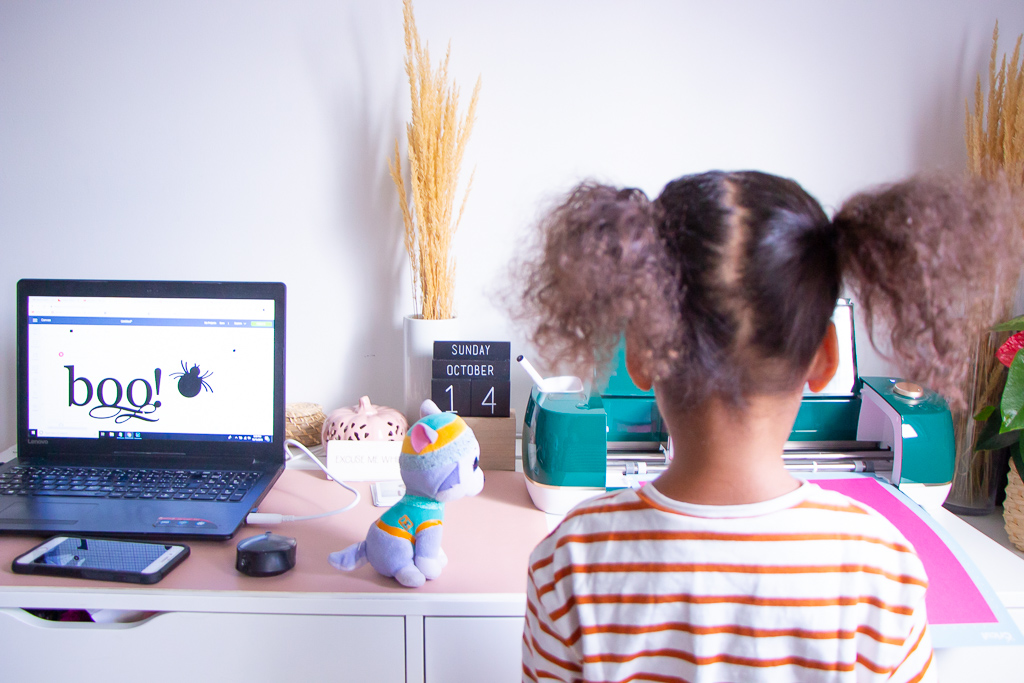 My toddler is patiently waiting for her “Boo” image!
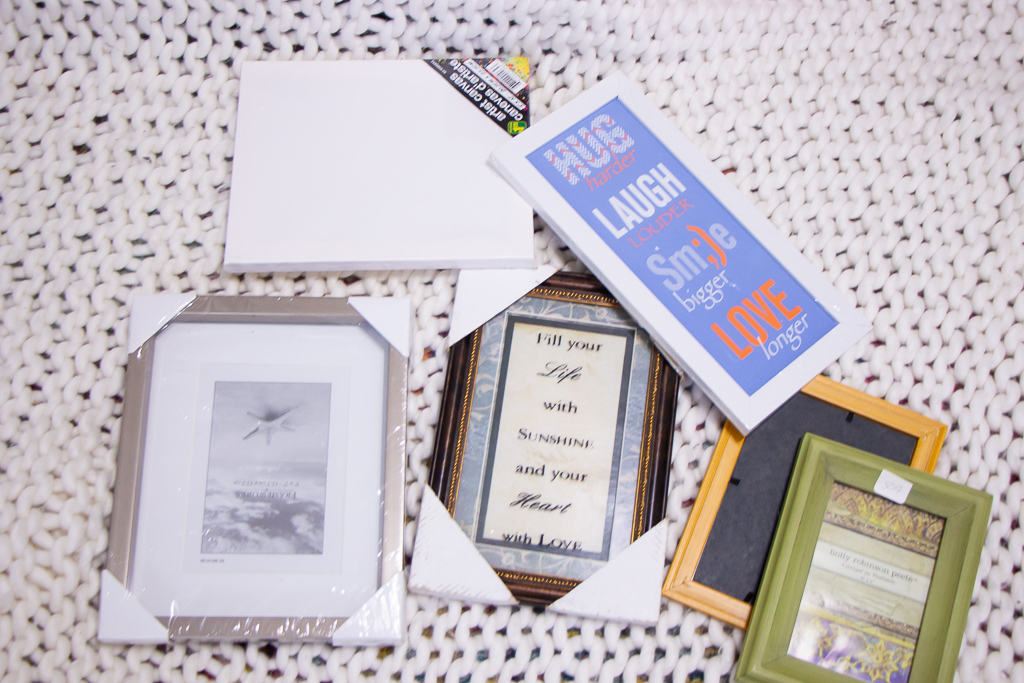
For the frames, I use what I already had in my craft closet. Yes, I have a whole closet filled with craft supplies for when I feel inspired lol.
Most of the frames were purchased a few years ago at the dollar store. A couple of the frames were purchased at various thrift stores.
Steps
- Set up your Cricut Explore Air 2 following the prompts on your computer.
- Log into your Cricut Design Space account and type “Halloween” in the image tab.
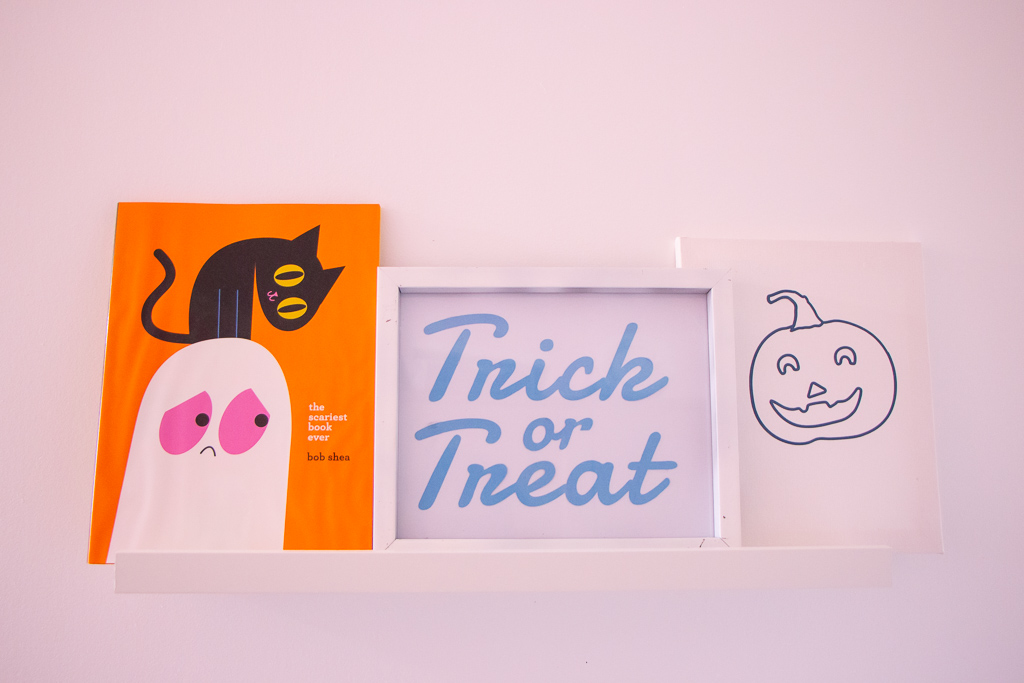
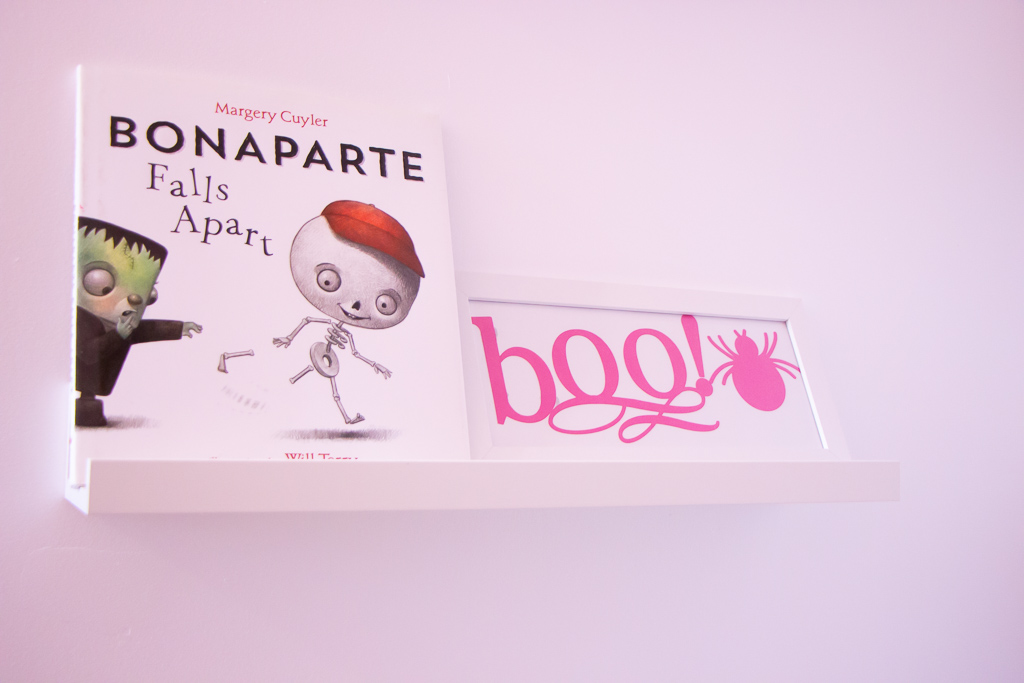
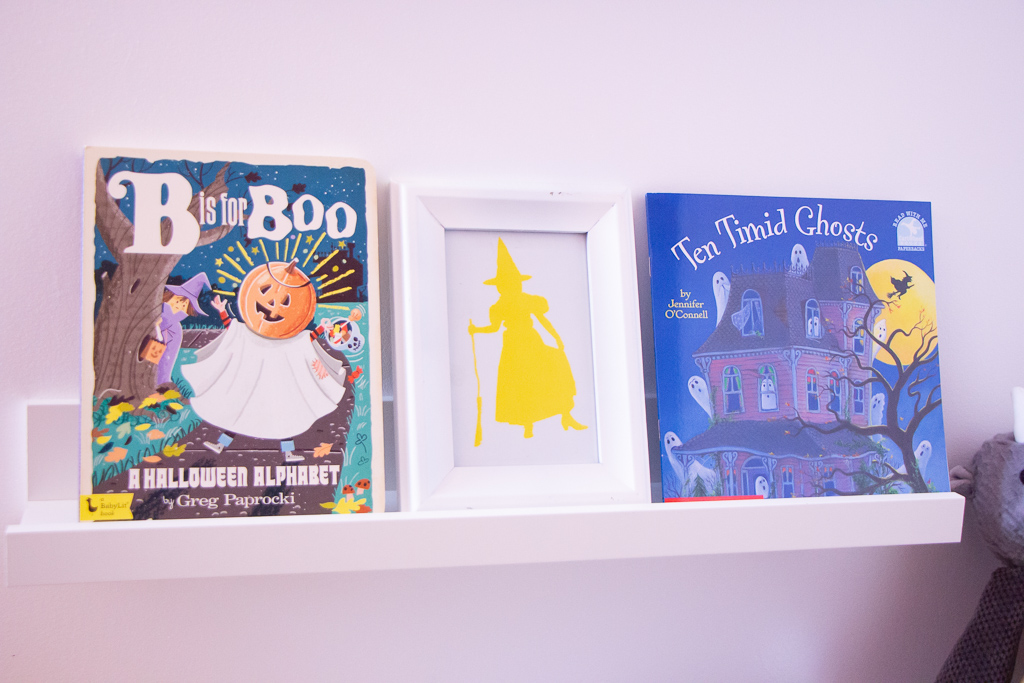
- Search and pick some fun but simple Halloween cut-outs. Since it was my first time using the machine, I selected images that didn’t require a lot of pieces. The “Boo” with the spider was my first choice. I also did a smiling pumpkin, a friendly-looking witch with her broomstick, and a “Trick or Treat” cut out. The pumpkin and the witch were both done using vinyl. The “Boo” and “Trick or Treat” were made using colorful cardstock.
- Once you have the cutouts that you want to use for your gallery, glue them onto white cardstock, and frame them.
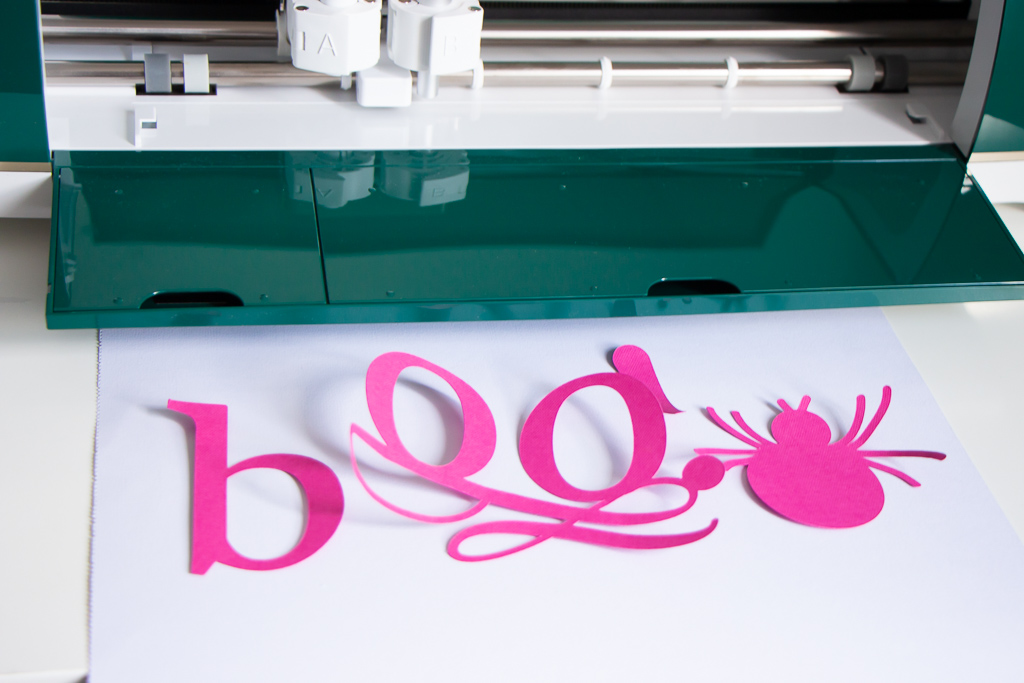
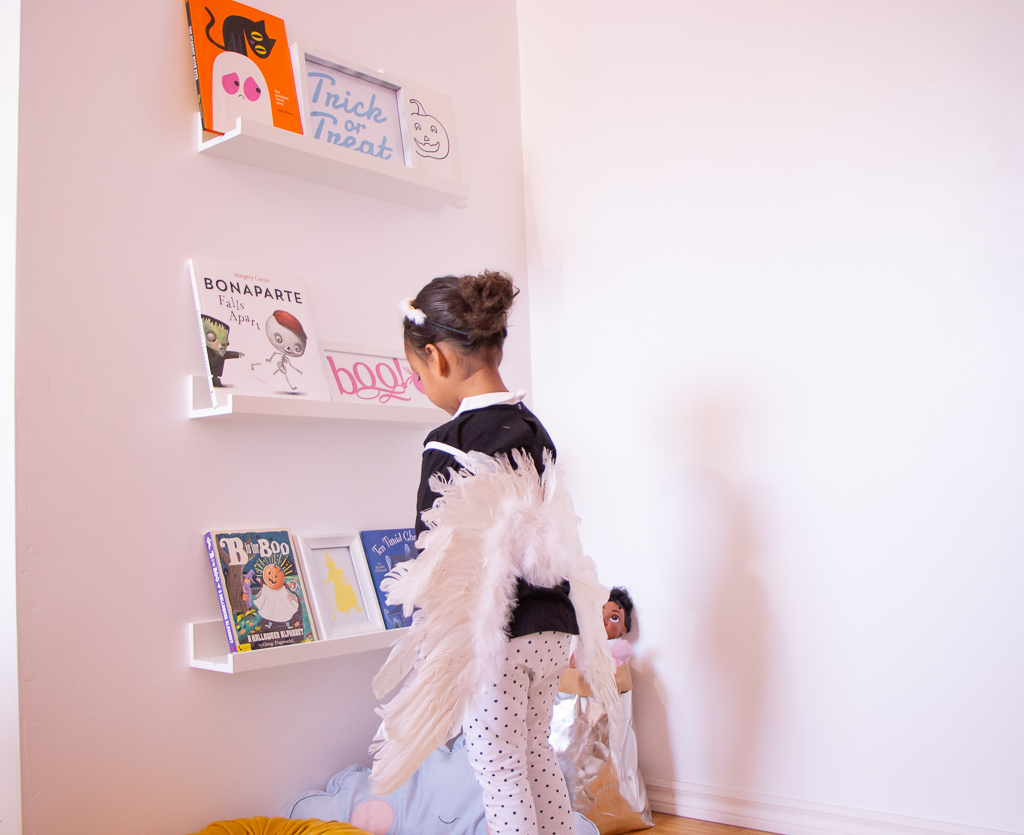
I’m so happy with how the Halloween themed gallery turned out. I set them up on the picture ledges where I keep her books.
PIN IT!
I love how it call came together! I’ve been using my Cricut Explore Air 2 for a couple of weeks now and LOVE it! I’m already working on another project that I will be sharing with you guys very soon!
Do you have a Cricut machine? Have you tried the new Cricut Explore Air 2 yet? Let me know in the comments section!
Pick up this gorgeous Emerald Cricut Explore Air 2 machine HERE!
Be sure to subscribe to my blog for an update when a new post is live!
Let’s connect!
I have a silhouette machine, still learning to use it.
Very nice, cute n clean ?? love this
These are adorable and I love the color of your Cricut machine!