This is a sponsored conversation written by me on behalf of Cricut. The opinions and text are all mine.
There are two kinds of people in the world, those who set an alarm clock for November 1st for all things Christmas and those that like to wait until December to get into the Christmas spirit! For me, it all depends on my mood. I usually wait for mid-November. Last year I wanted to the decorating as soon as possible, but we were in the middle of some home renovations and didn’t get Christmas decor out until mid-December. Whichever kind of people you are, this easy DIY holiday pillow using my new Cricut EasyPress 2 is a must! Full disclaimer, this project was my very first time using the Cricut EasyPress 2, and surprisingly enough, it wasn’t a total fail! Keep reading to see how I did it!
Easy DIY Holiday Pillow – Cricut EasyPress 2

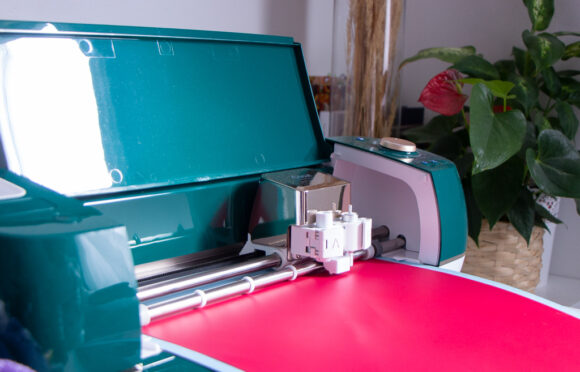
For this simple DIY, you will need the Cricut machine. I’m using the Cricut Explore Air 2 (Check out my last DIY here).
Supplies needed for this project
- Cricut Explore Air 2
- Cricut Everyday Iron‑On™
- Access to Cricut Design Space.
- A simple holiday image of your choice (I went with Joyful Christmas)
- Cricut EasyPress 2
- Cricut weeding tool (worth purchasing when working with vinyl)

Steps
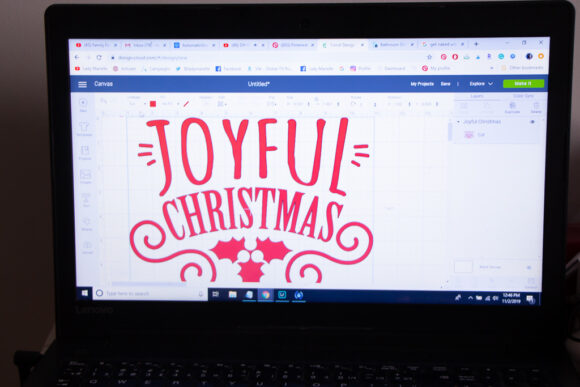
- Start by logging into your Cricut Desing space account.
- Click the “image” tab on the left of the screen and type “Christmas” in the search bar.
- Look for a simple image and only one color.
- Once the image is selected, click “insert images” at the bottom right of the screen.
- Resize the image so that it fits on the pillow you are using. I bought my white pillow cover at IKEA.
- Set your Cricut machine to “iron-on.”
- Click “make it,” and be sure to set the image to the “mirror” option on.
- Choose the color vinyl you want for your pillow and set the shiny side facing down on your machine mat.
- Load and start your project.
- Remove the vinyl paper from the mat.
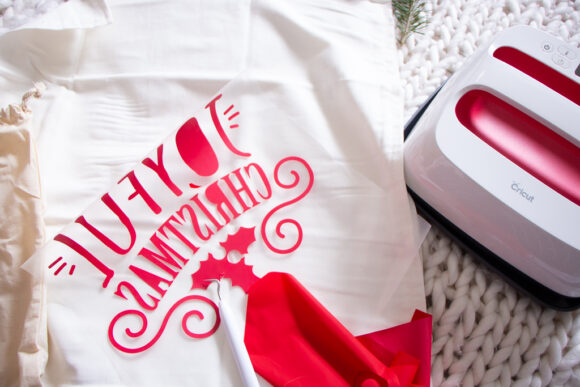
- Using your weeding tool, slowly peel off the excess pieces off.
- Use a scissor to cut off the excess plastic around your image.
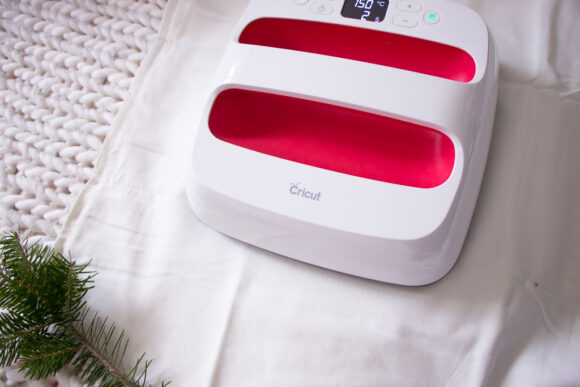
- Turn the Cricut EasyPress 2 on. Please refer to the heat guide. This guide is essential when using the Cricut EasyPress 2. You can select the type of iron-on (vinyl, glitter, infusible ink, etc.) as well as the kind of material you will be using (burlap, canvas, cotton, etc.).
- Slowly peel off the plastic to reveal your image!
- Enjoy your masterpiece!


PIN IT!
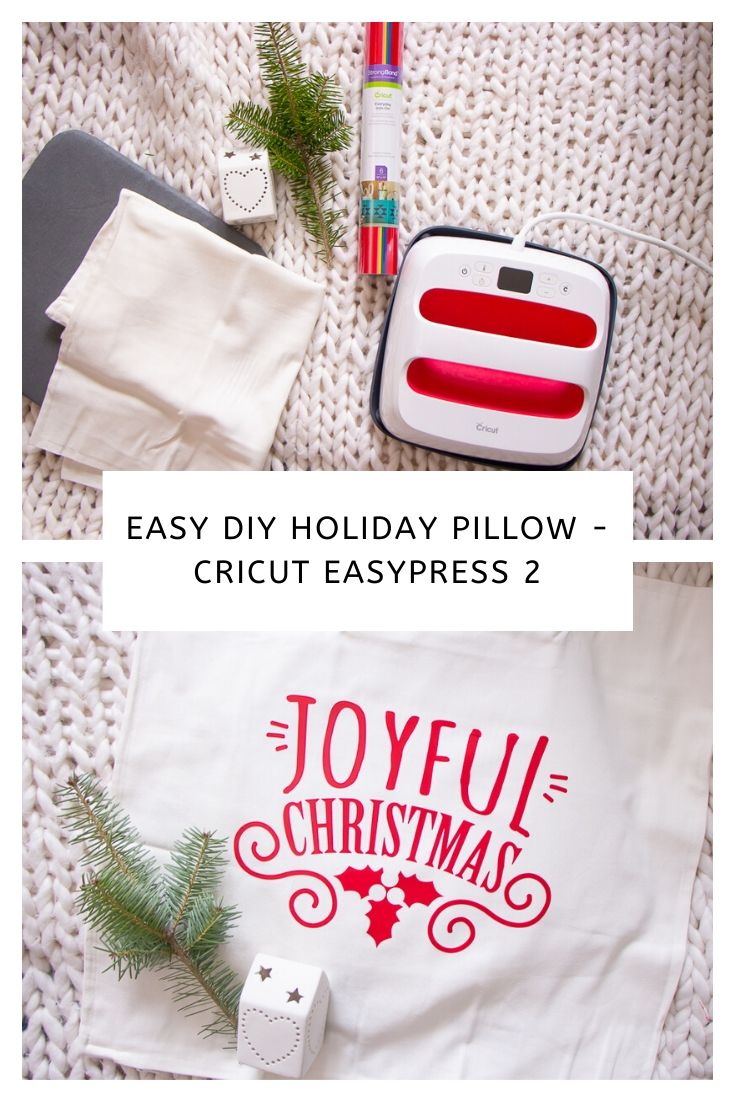
I’m honestly so impressed with the Cricut EasyPress 2. The machine is super easy to use, and the possibilities are just endless! I’m already thinking of something else I can do with it! Do you have a Cricut EasyPress 2? What do you think of it?
Be sure to subscribe to my blog for an update when a new post is live!
Let’s connect!
Twitter | Facebook | Instagram | Bloglovin
Wow, so easy to use ??