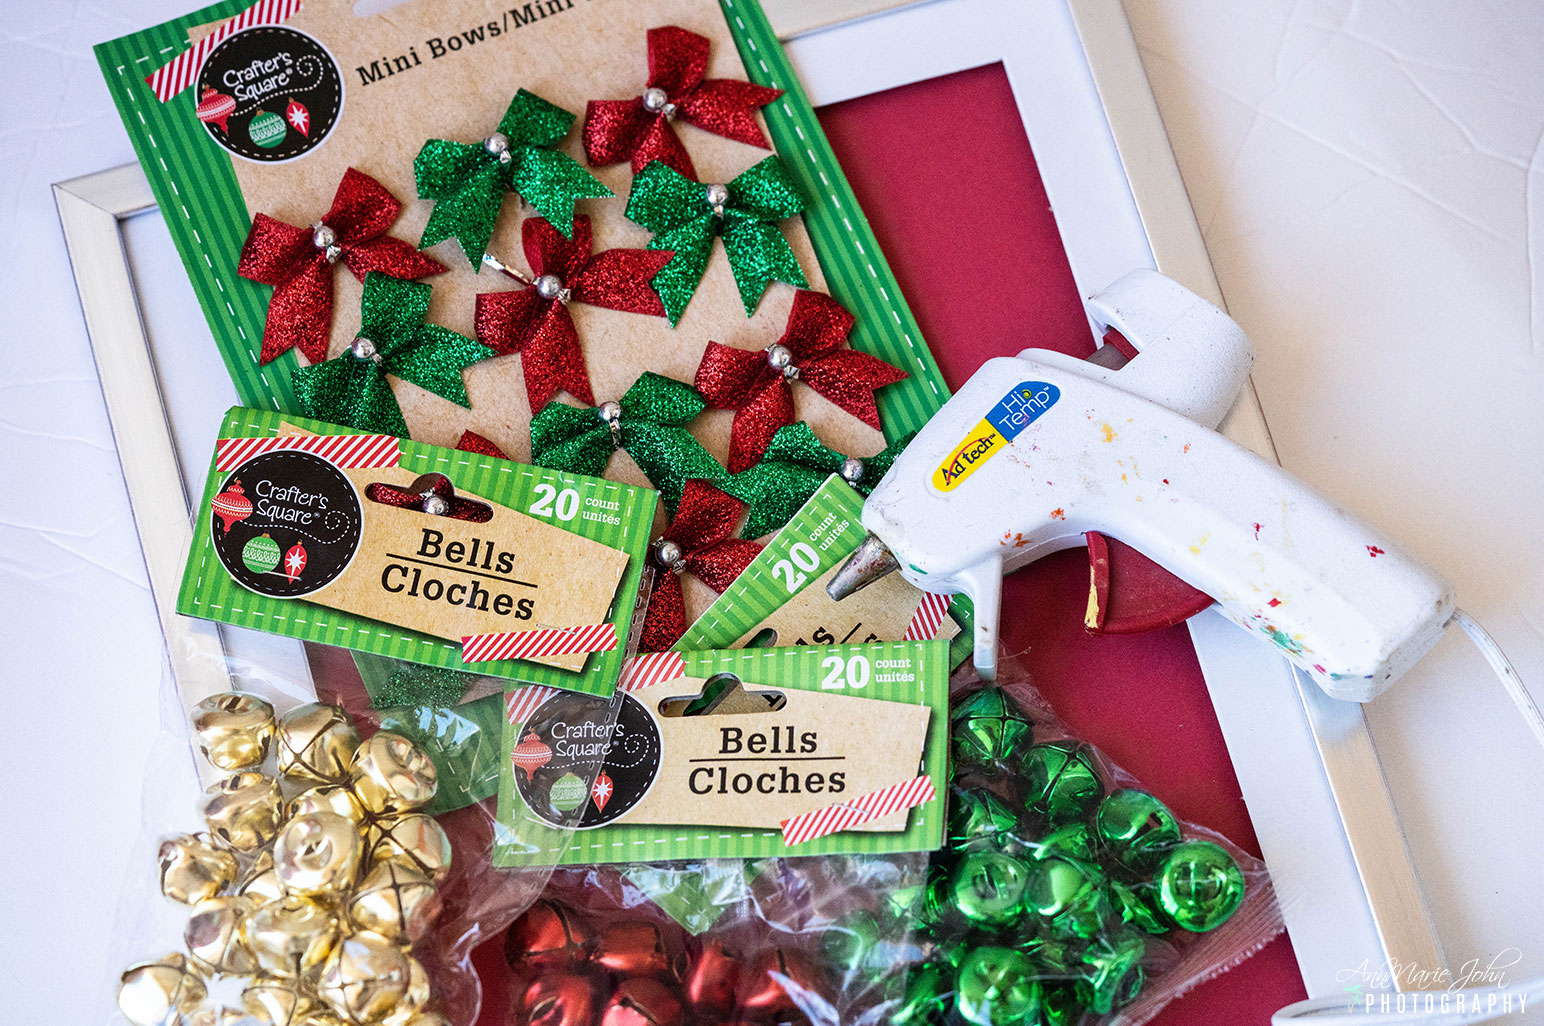
I’m not sure what it is, but every holiday I get into a crafting frenzy. There’s just something about the holidays that give me feelings of joy. As a matter of fact, my radio station is tuned into the holiday station on my satellite radio. I know I can’t be the only one that just loves the holidays. That’s why this Christmas Tree Bells Shadow Box was such a thrill to create.
Christmas Tree Bells Shadow Box DIY

My inspiration came from my original Holiday Jingle Bells ShadowBox. I enjoy making shadow boxes for different occasions and display them as decor around my home. However, on a recent trip to the dollar store, after seeing their jingle bells I started wondering “what can I create with these?” What craft can I make that would cost under $10 and wouldn’t take up too much of my time? Then it hit me!
A Christmas Tree Bells ShadowBox!
ShadowBoxes are very simple and lots of fun to create. This one cost me around $5 since I already had a few of the supplies that were needed. Get the kids together and have a “ball” with these jingle balls and your own shadow box.

SUPPLIES NEEDED
Holiday Jingle Bells
Shadowbox (or you can use a Dollar Store photo frame)
Plain cardstock paper (I chose red, but you can select any color of your choice)
Holiday bows
Glue gun

DIRECTIONS
Step 1: Start by removing the glass from your shadow box or photo frame. You’re not going to need it so discard it carefully. Removing the glass from the structure will give your shadowbox an almost 3D like visual effect.
Step 2: While it might be a good idea to use a ruler to find the middle point of your shadowbox at the very top, I decided to do this freehand, after all, it’s homemade and wasn’t going to be gifted or sold.
Step 3: When you’ve decided on where the middle is going to be at the top of your tree, with a bit of glue, attach your holiday bow. This will be the start of your project as everything falls below this.

Step 4: Next, decide on how you want your jingle bells to be placed. I decided to do red, gold than green, but you can alternate the colors or whatever your heart desires.
Step 5: With a bit of glue to the back of each bell, you will start by going down by one each row you decide to do. So for example, you will have one red, then 2, then 3 and so forth.

Step 6: If you would love to have a 3rd row of the green, you will need another of the green jingle bell package. Since my dollar store bells only came with 20 per bag, I didn’t have enough to do a 3 row, but could have done the 3rd row with red, but decided to stop.
Step 7: Be sure to clean up all the excess glue strands that are inevitable when you’re using a glue gun.

That’s it! You’re all done. Merely place your shadowbox with your other Christmas decor, or you can even hang on the wall. Bring a bit of Christmas joy to your household with this simple holiday craft.
Thank you, AnnMarie for the super fun and easy DIY! Just in time for some Christmas crafts!
Be sure you are subscribed for more fun crafts.
Let’s connect!
So cute ?? infact most creative idea , love that cute little boxes , u arranged so well ?
Me always thinking of new recipes n menu on my free time ??