We still have a few weeks left before school starts, but I’m already thinking up some simple lunch ideas for Tristan to take to school. One of his favorite meals is making wraps so I thought it would be the perfect time to teach him how to use the panini maker to make a chicken avocado wrap.
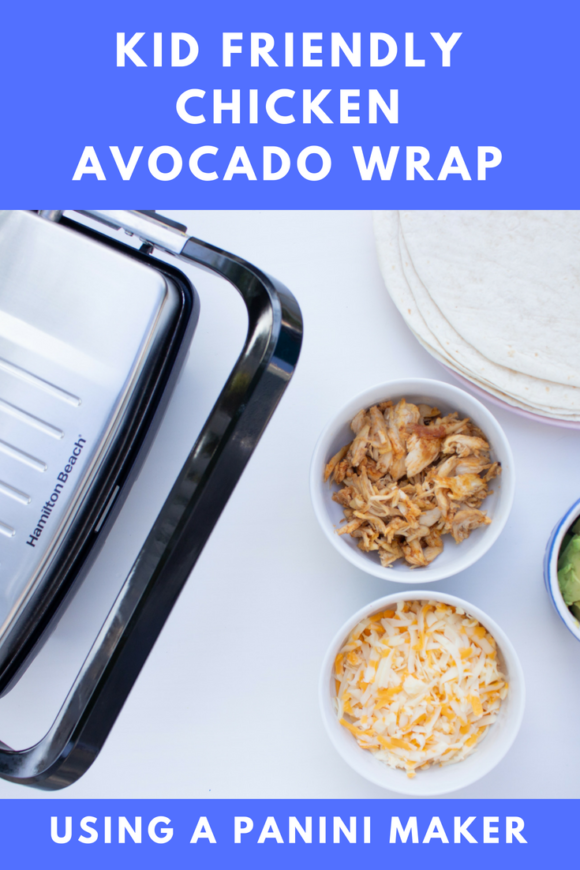
Kid Friendly Chicken Avocado Wrap Using A Panini Maker
This post is in collaboration with Hamilton Beach Canada.
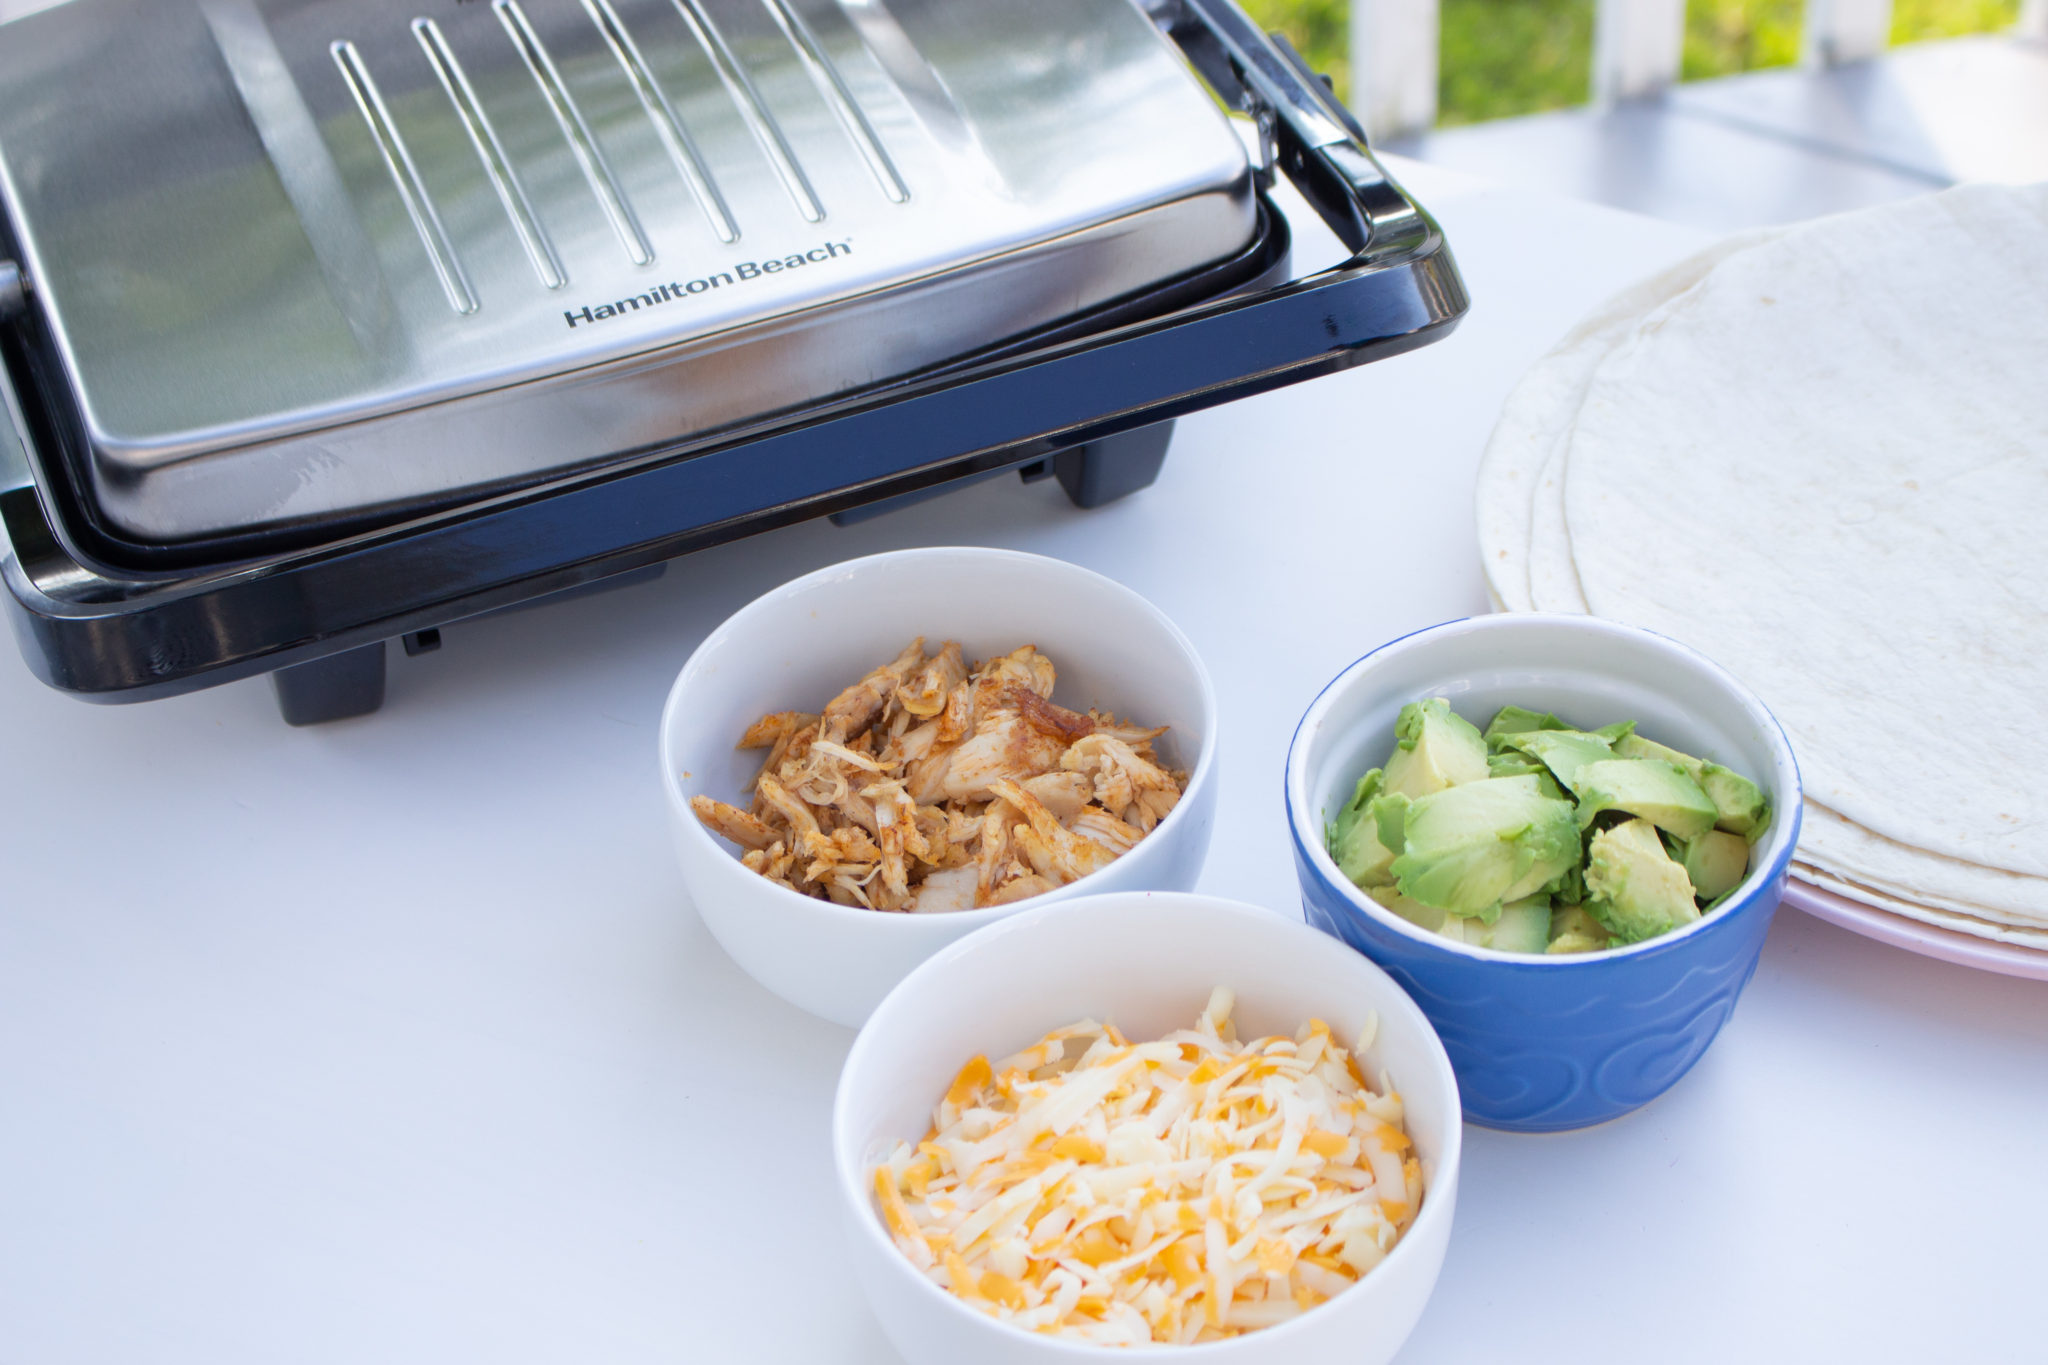
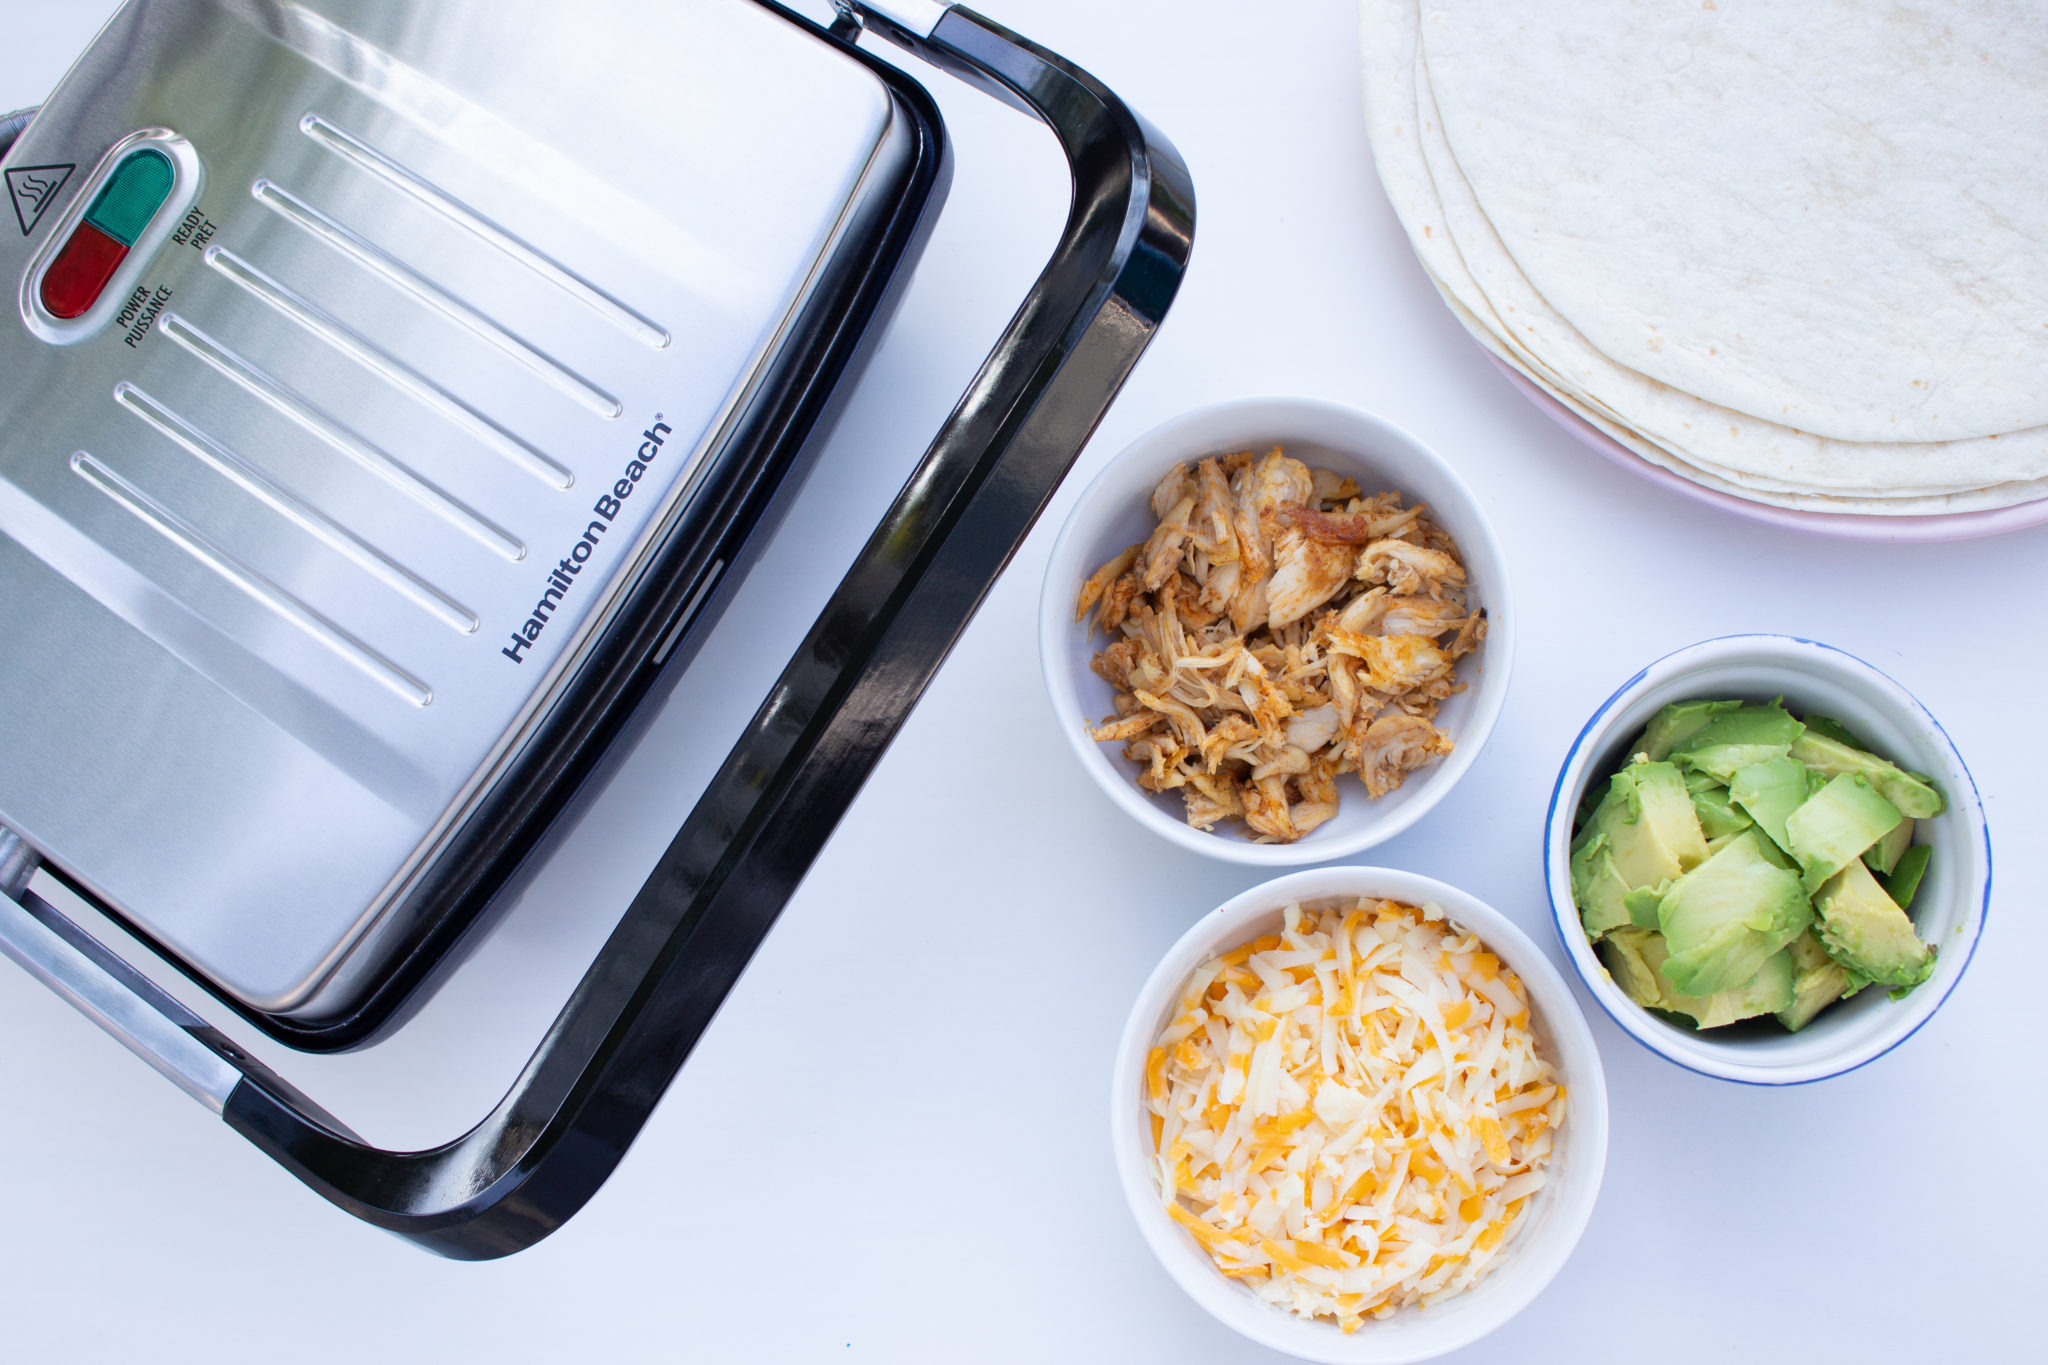
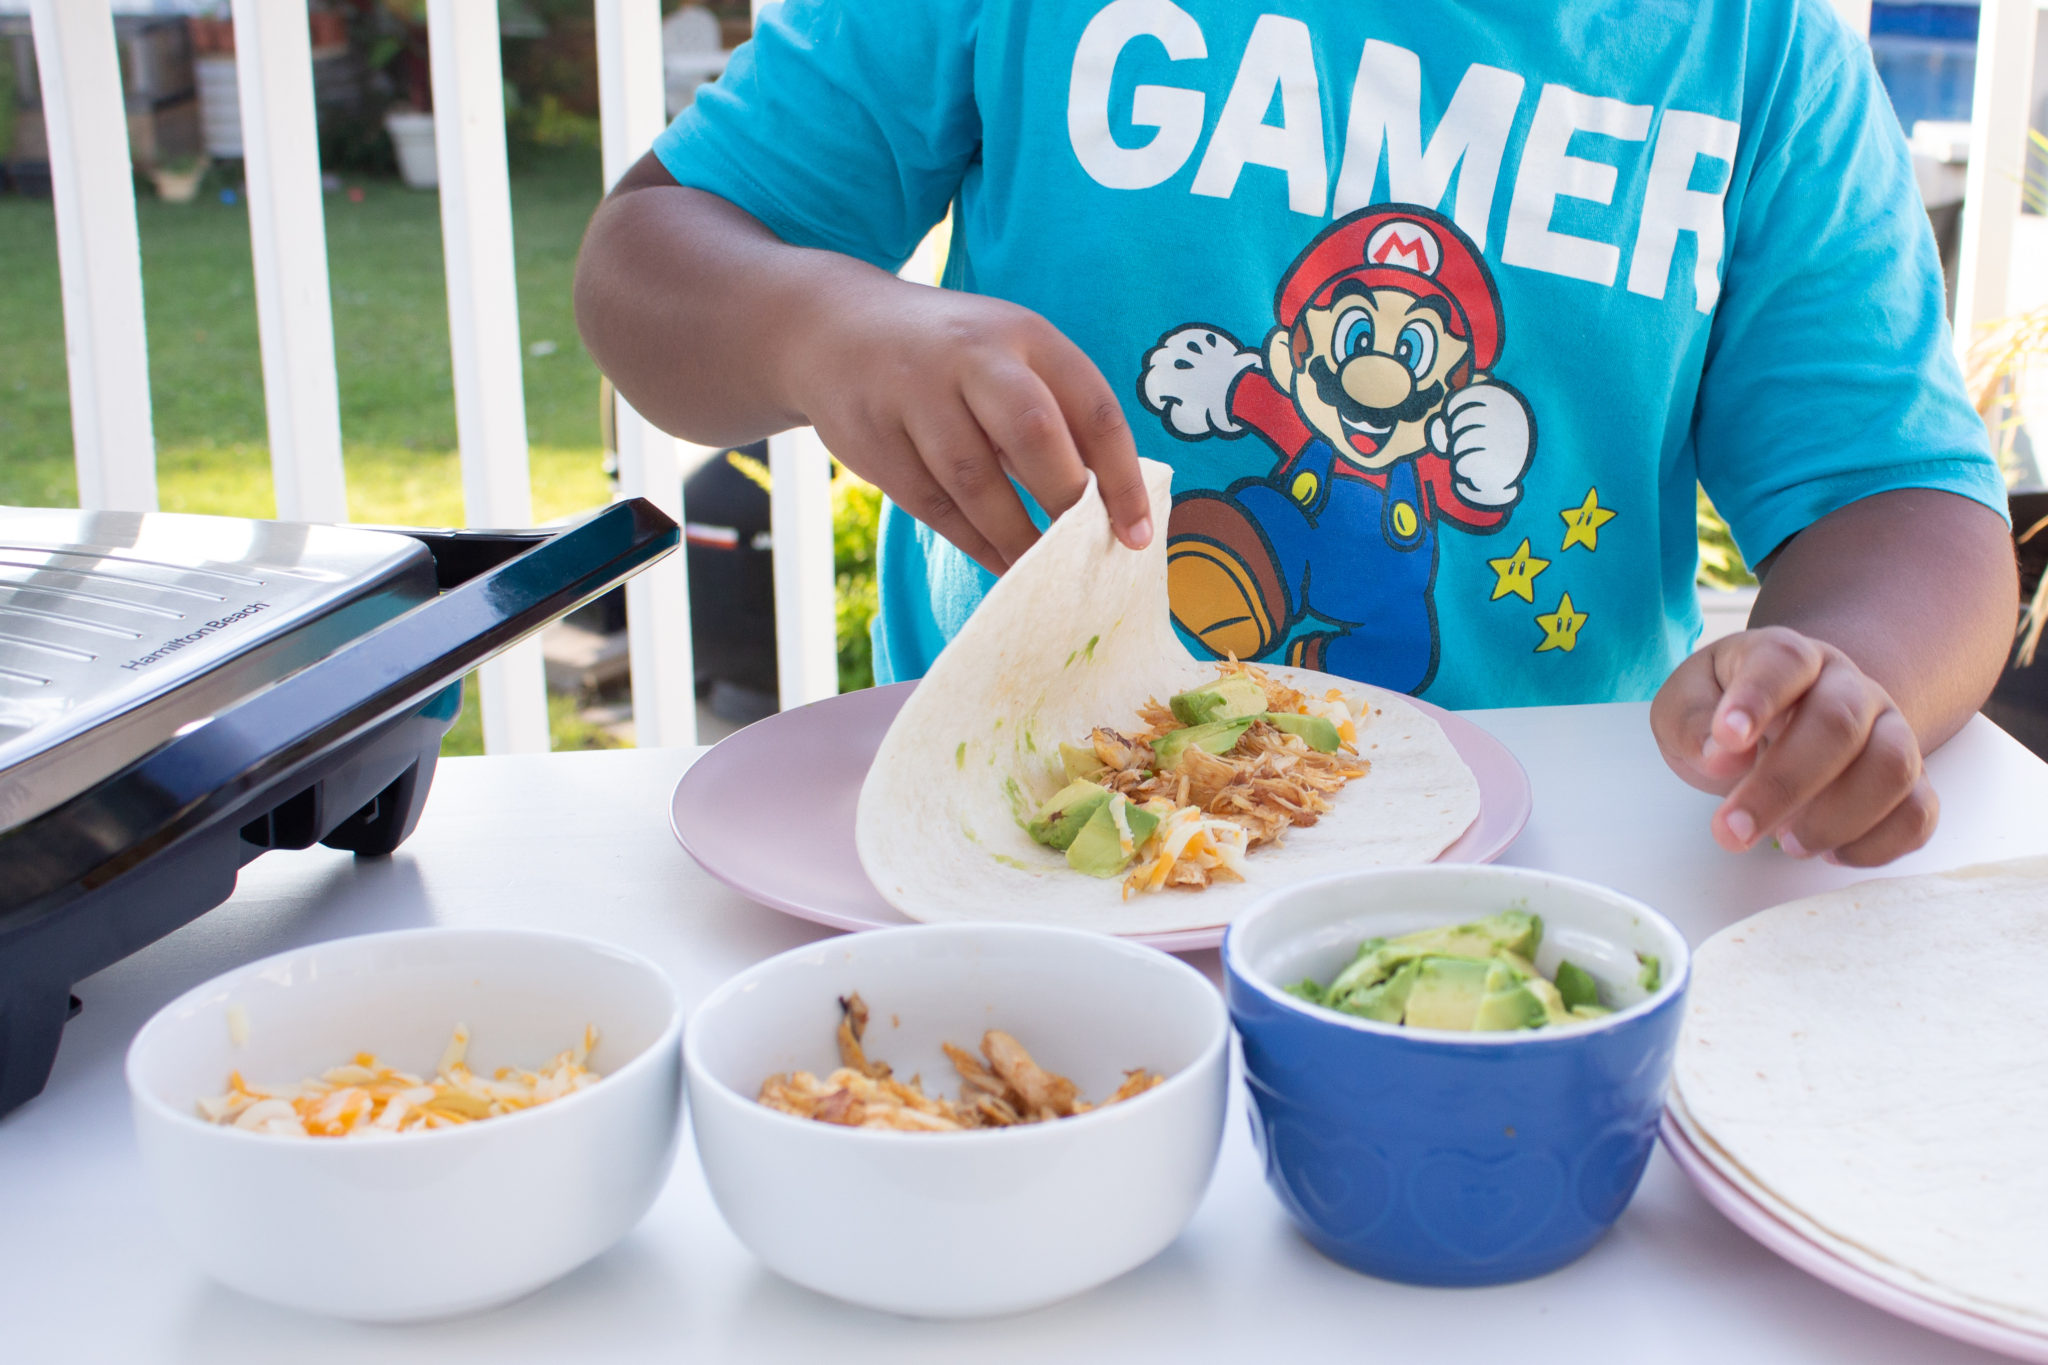
This recipe doesn’t require too many ingredients. In fact, you might already have them in your fridge. It’s also a super easy recipe that your child will have fun making.
Ingredients
- 1 cup of leftover rotisserie chicken
- 1/2 cup of your favorite grated cheese
- One avocado (cut into small bite sizes)
- Soft tortillas
Now, on to the fun part of this recipe.
Using the Hamilton Beach Panini Press Gourmet Sandwich Maker.
Plug in your panini maker. The red light will turn on and remains lit while the machine is plugged in.
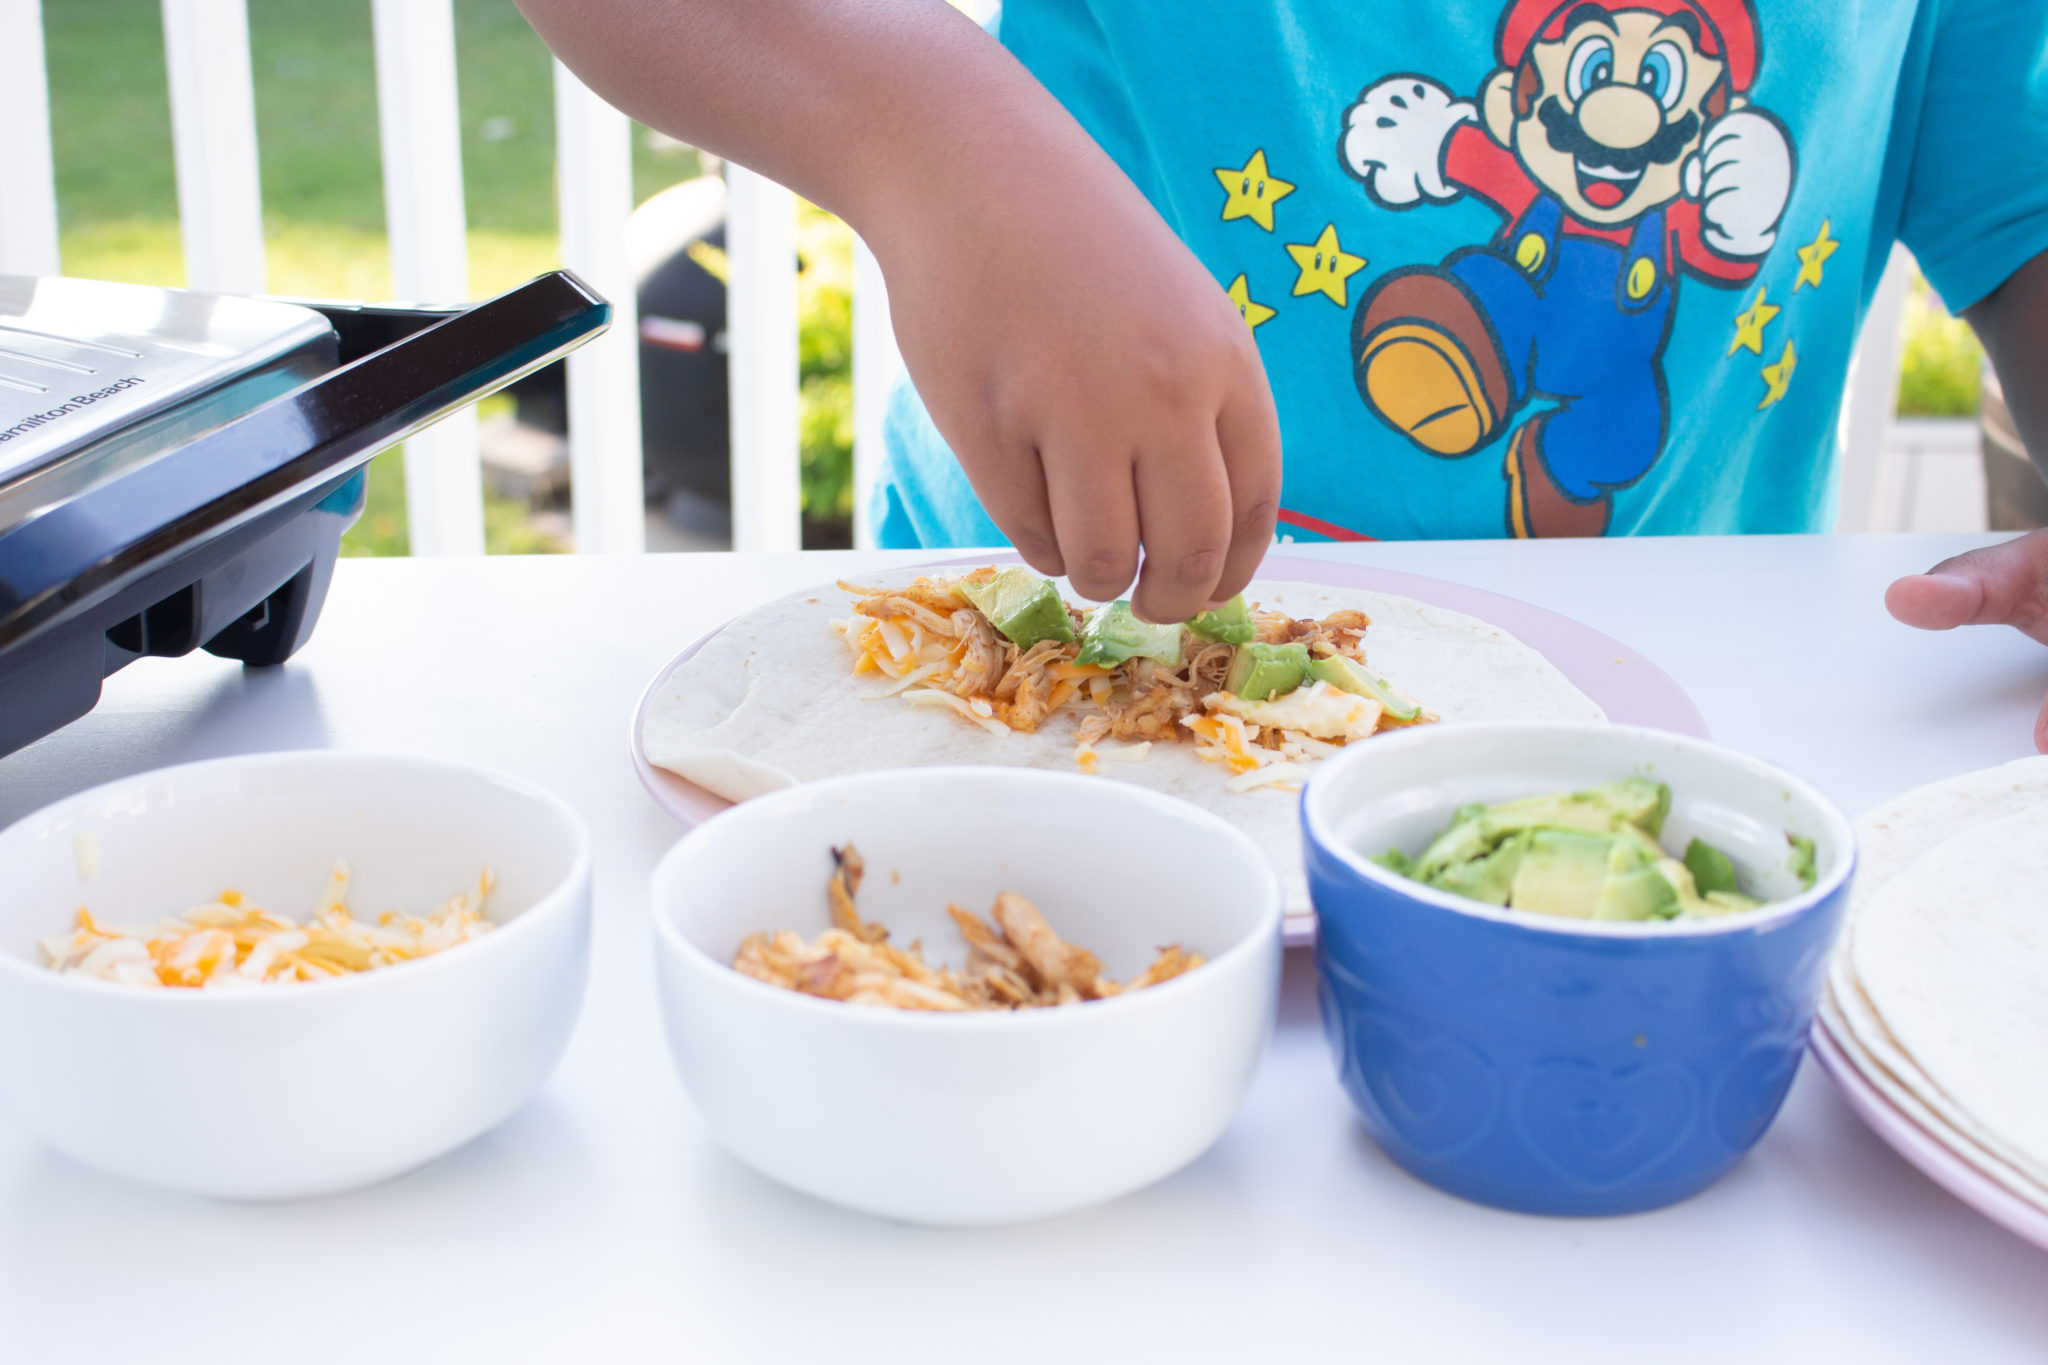
While it’s warming up, add your toppings in the center of your tortillas.
By the time you are done, your panini is probably already warm enough to use.
Place your rolled up tortillas in the center of the panini maker. If you are using small tortillas, you can easily add three at a time. The green light means your food is ready!
Enjoy!
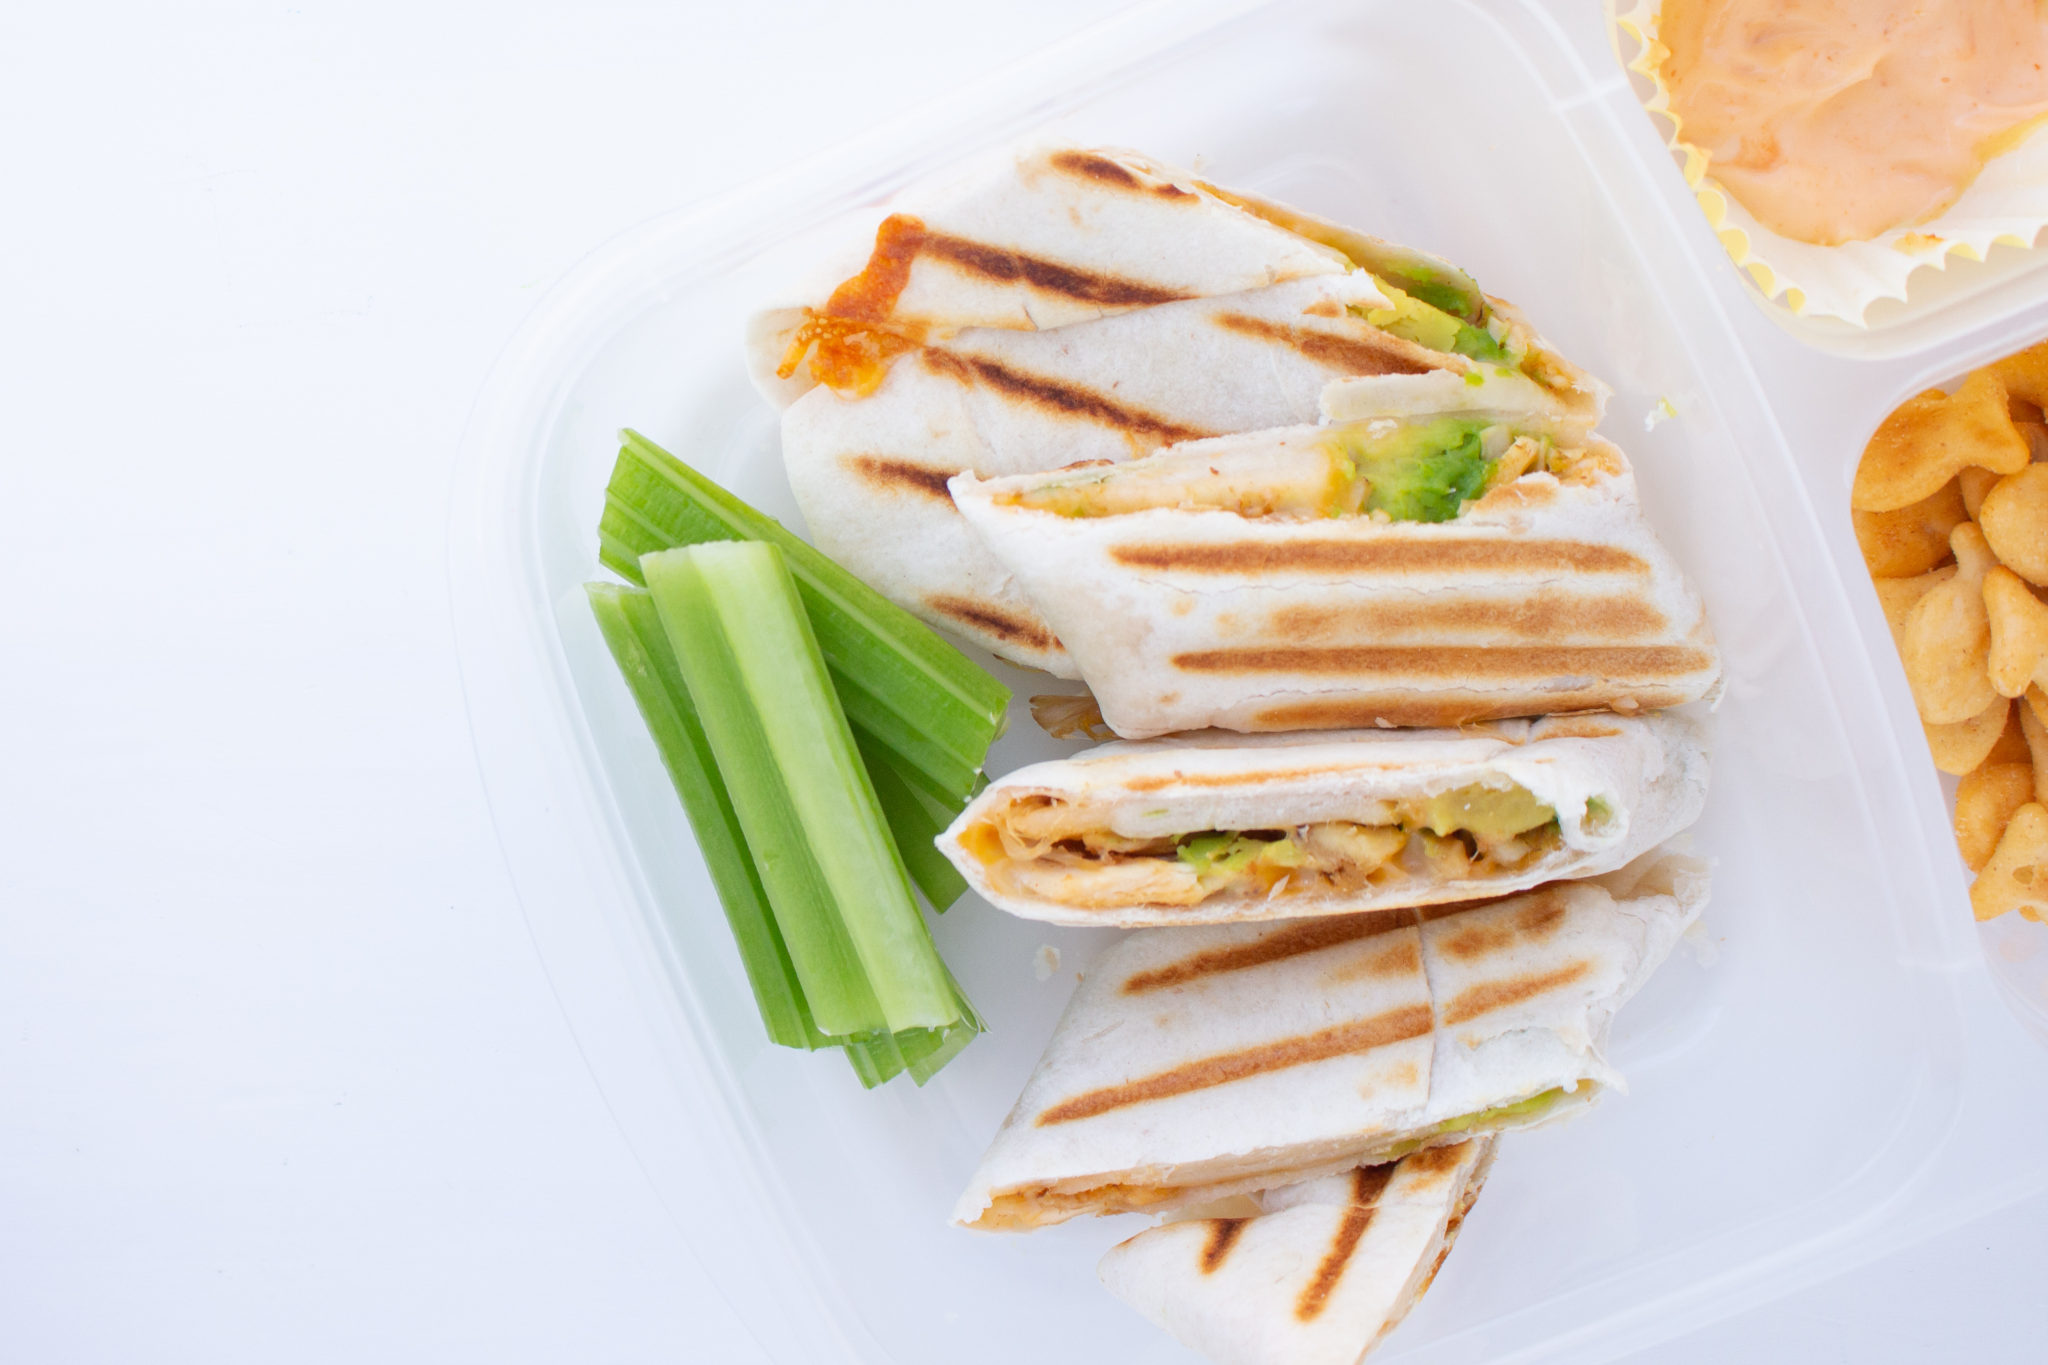
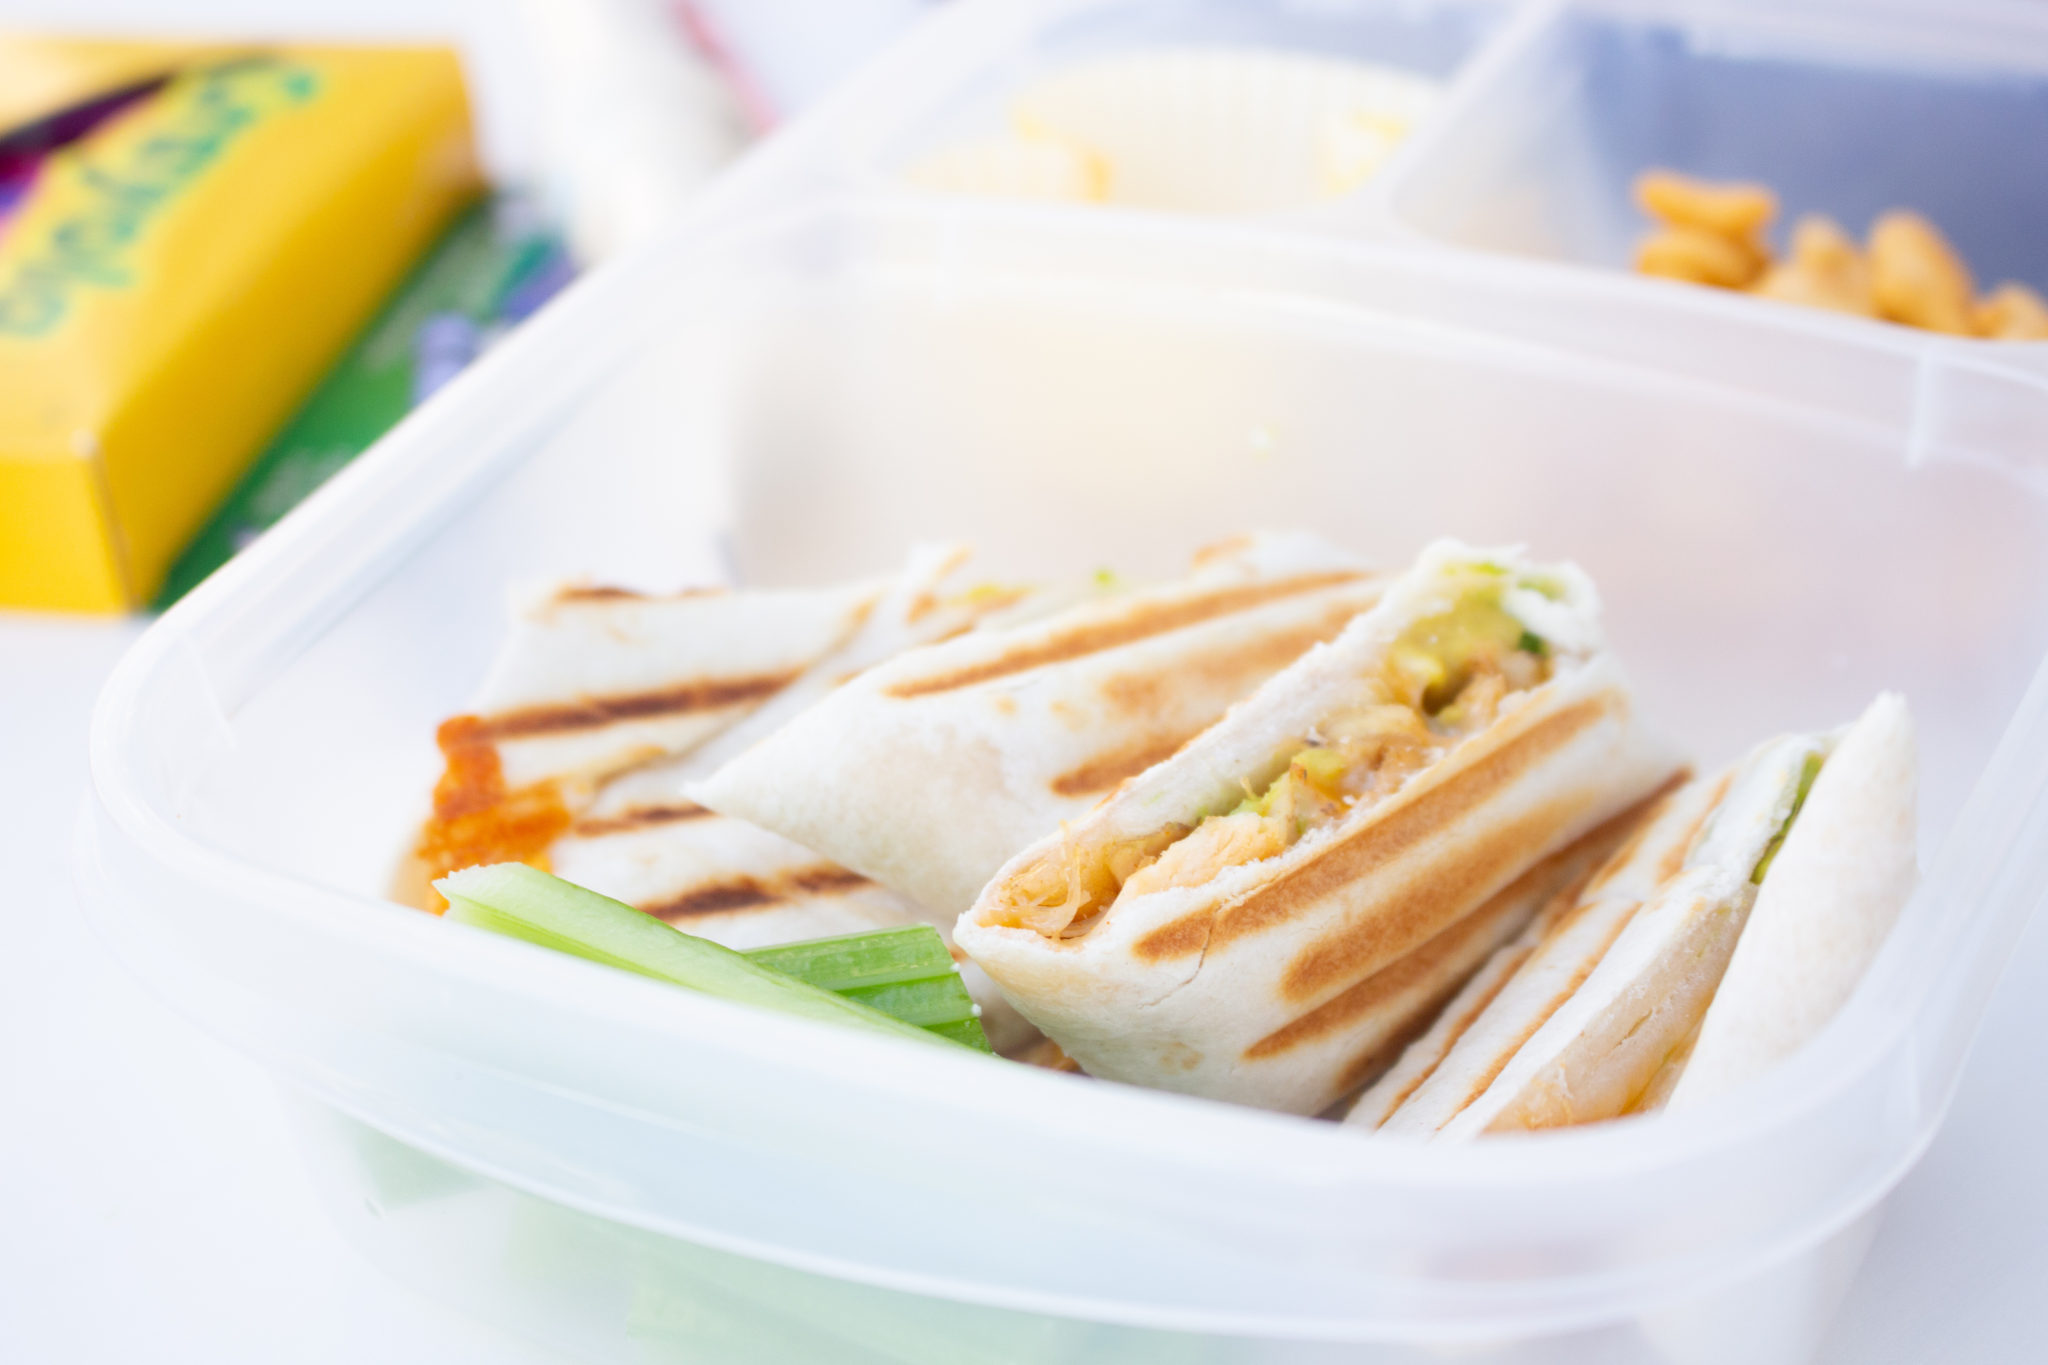
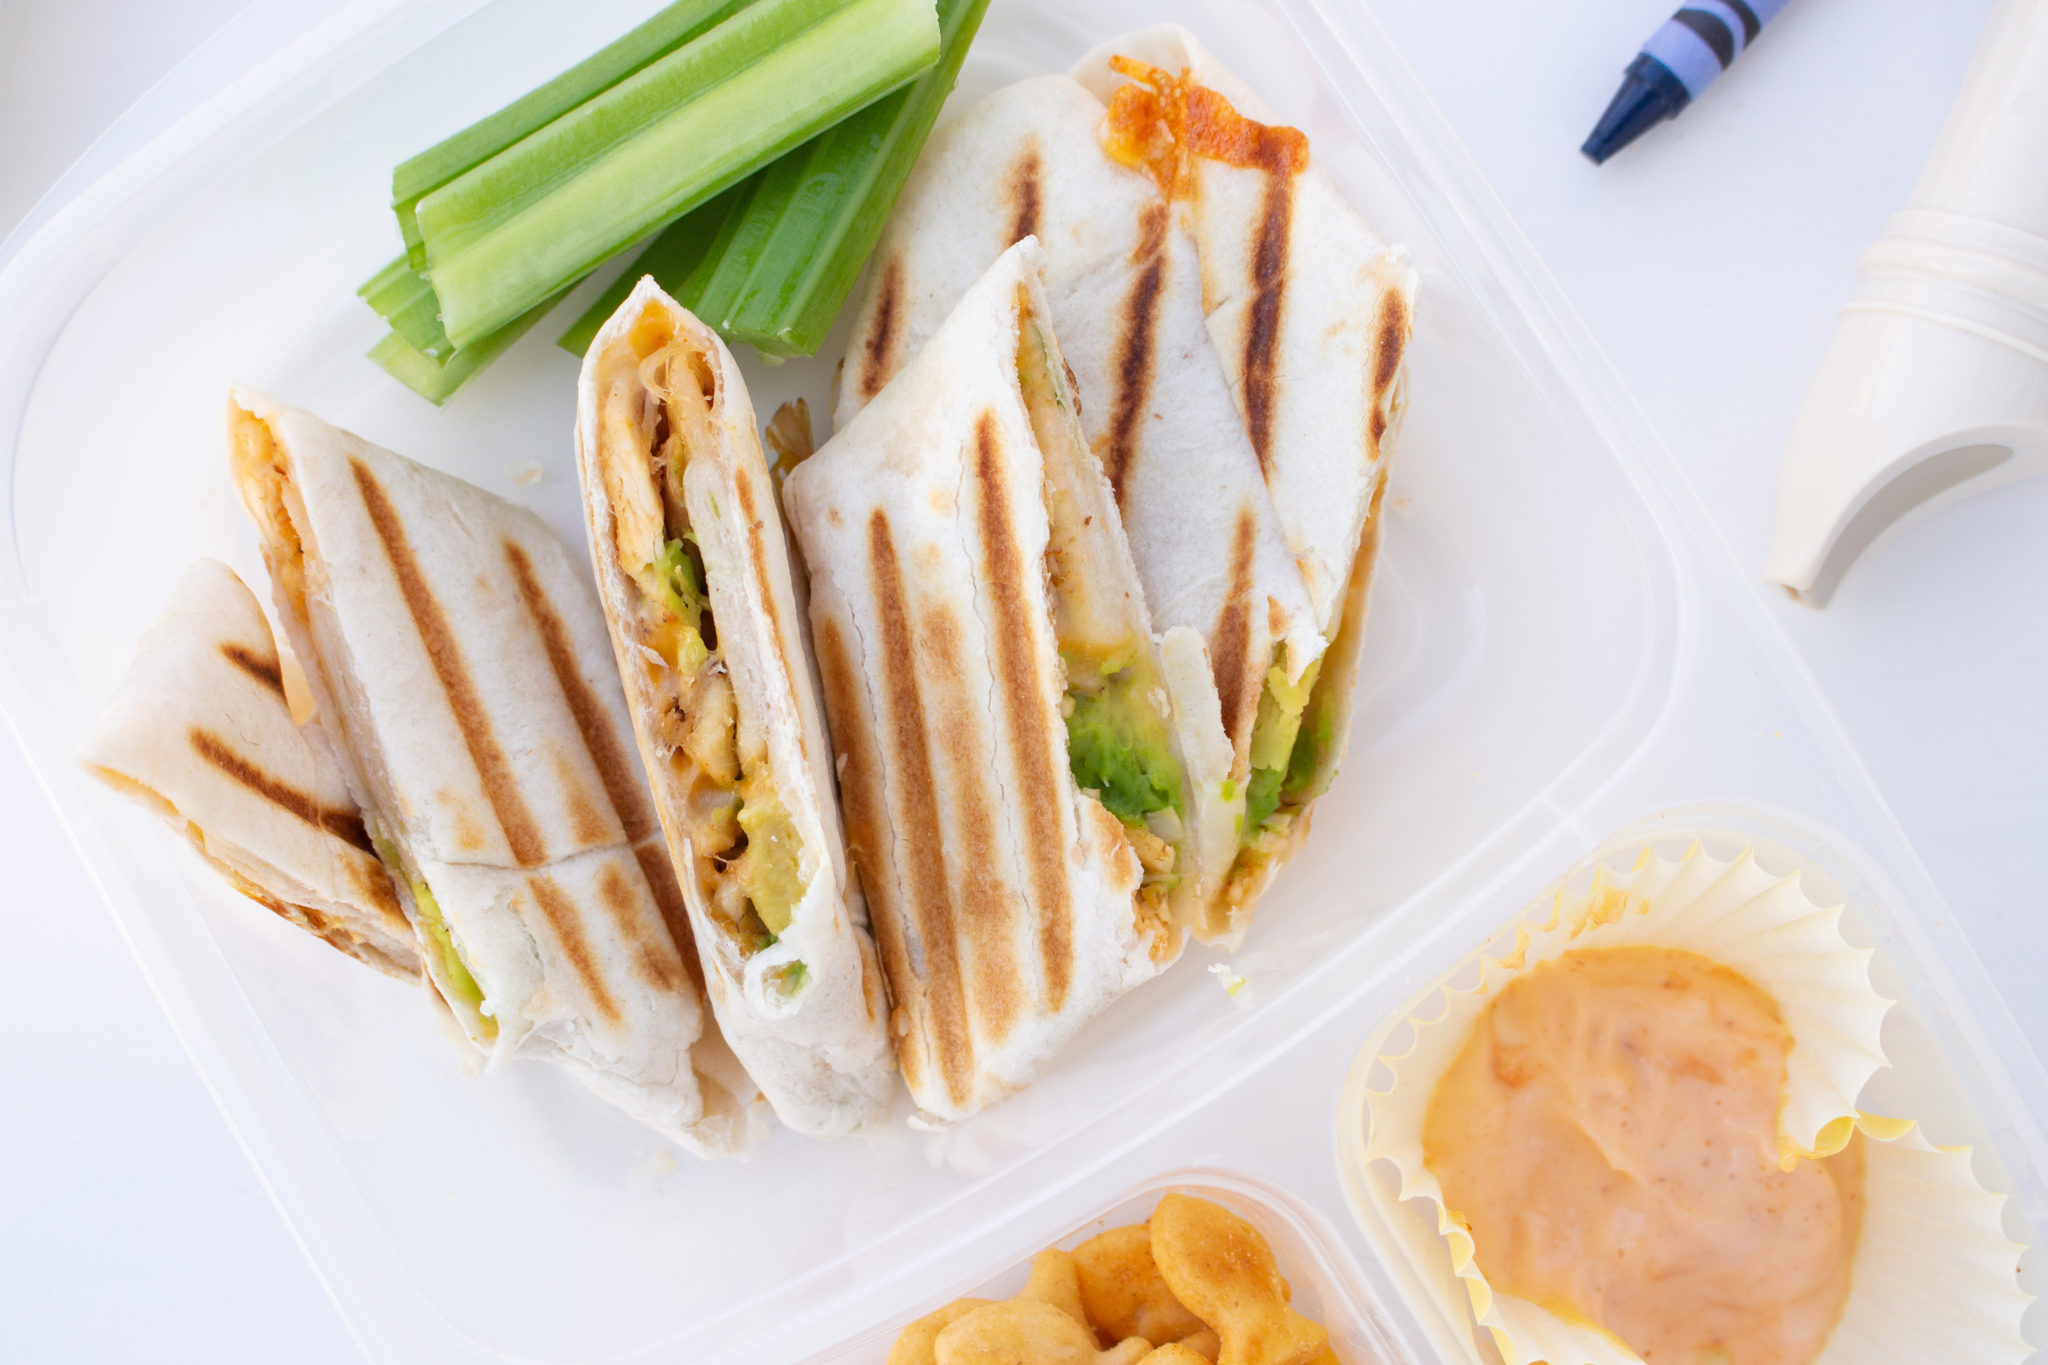
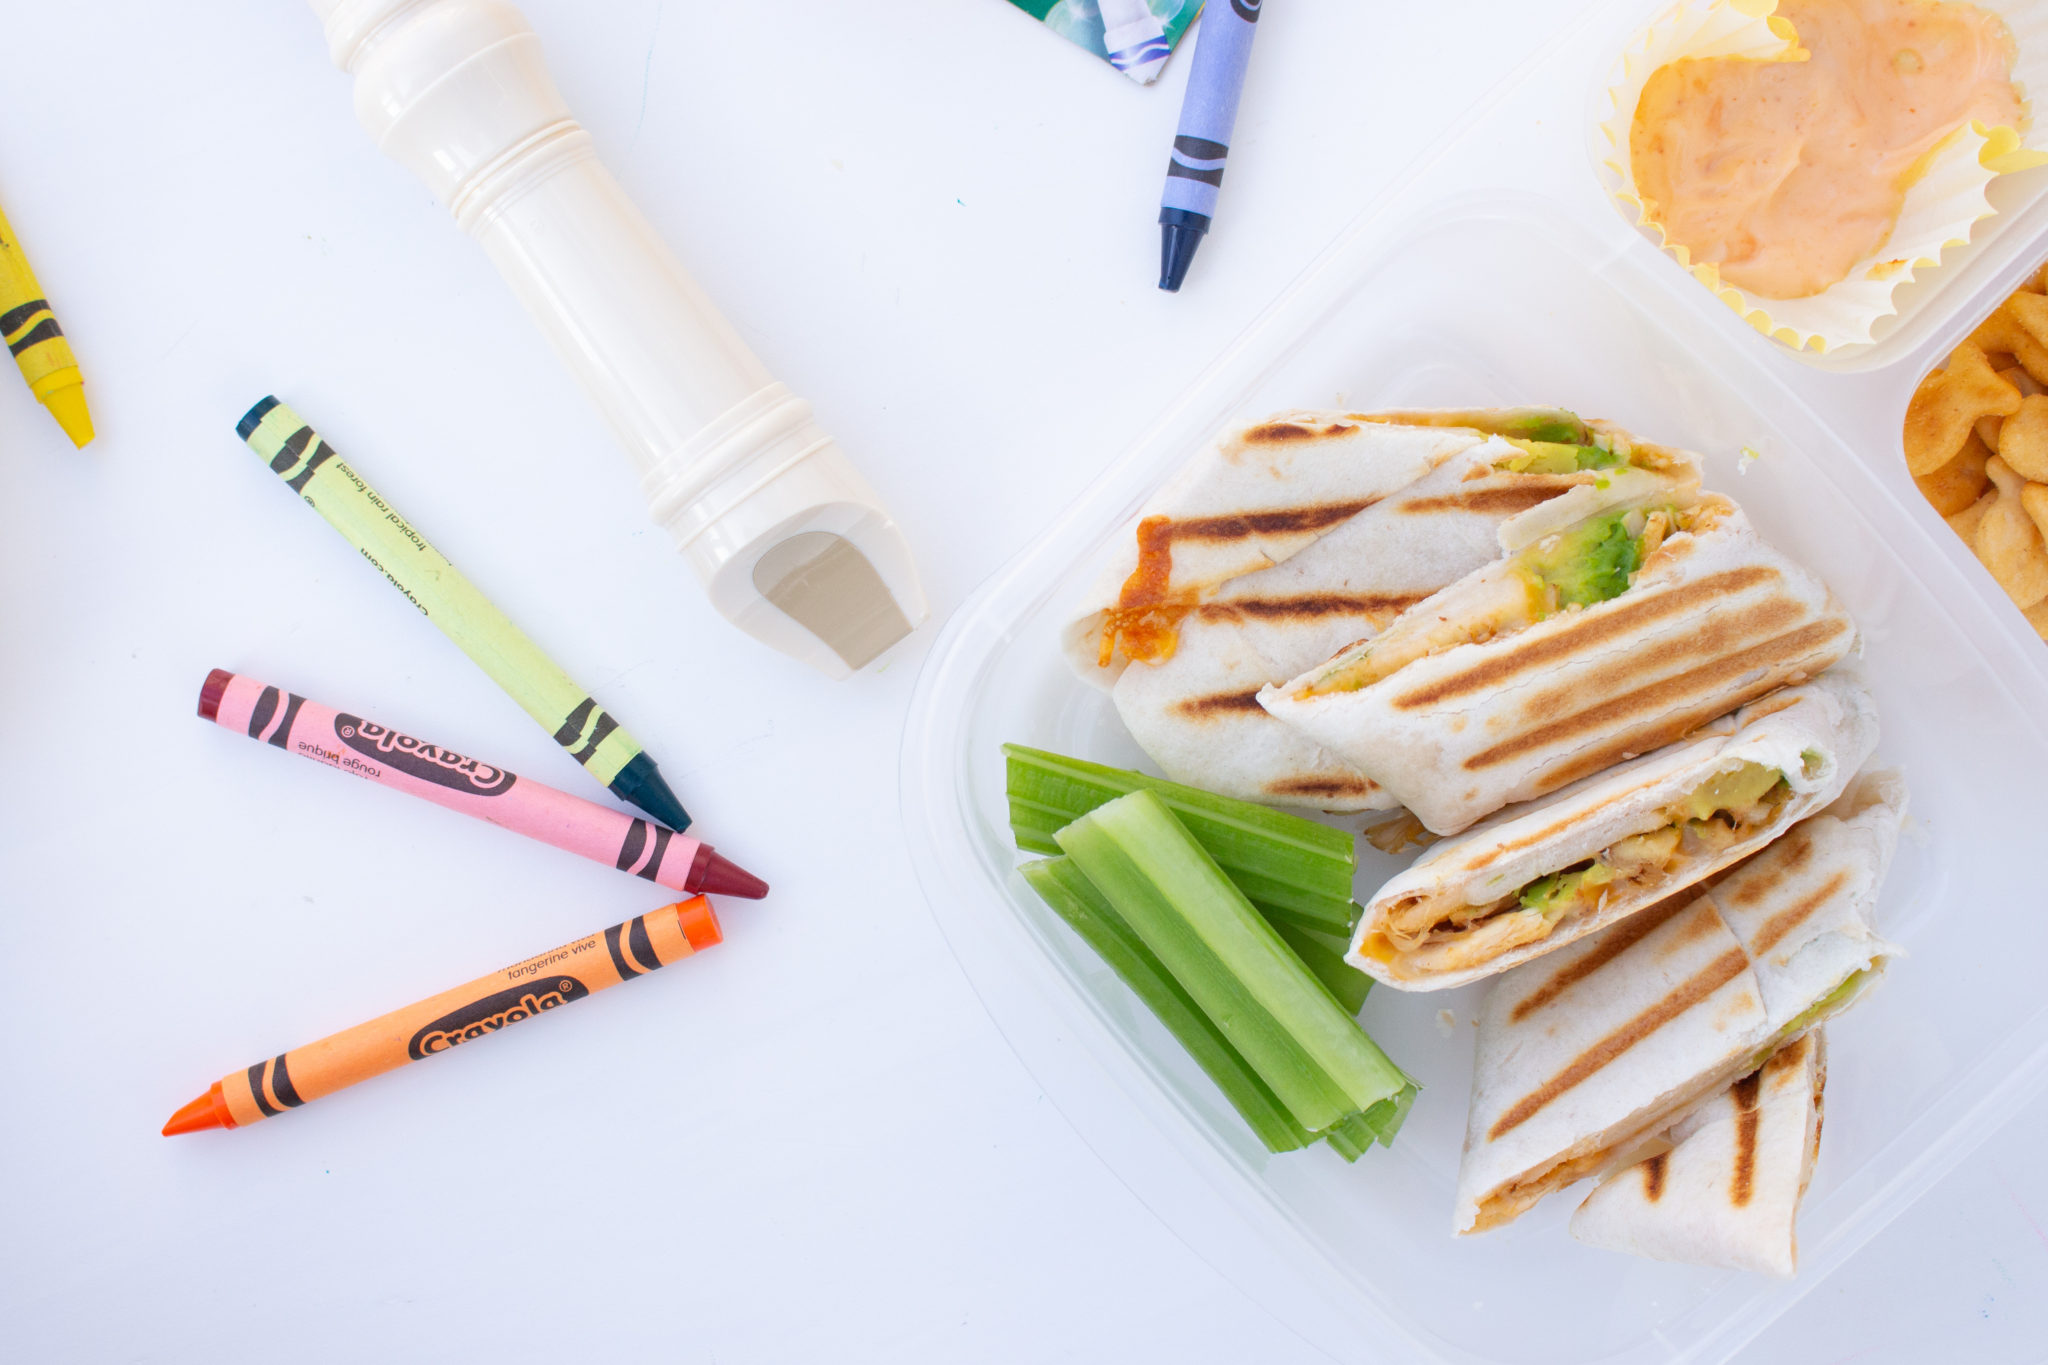
You can cut the wraps into small pieces and pack them in lunches. Super easy AND delicious recipe!
[Tweet “Check out this kid friendly chicken avocado wrap! @hamiltonbeachCA #recipes #paninimaker”]
This chicken avocado wrap tastes so much better after we put it in the panini maker. You’ll have to give it a try.
What other fun recipes could we try in our panini maker?
Be sure to subscribe to my blog for an update when a new post is live!
Let’s connect!
Okay, I definitely need to make these for my kids! They’d be perfect for back to school!
Looks so yummy n easy too ?? thanks for sharing ?
Looks yummy!